Spiraling
For ten hours, I sat quietly next to a stranger who mumble-narrated every keystroke he made. And there were a lot of keystrokes. Andrew worked so rapidly that it looked like he was smashing random keys, except for every few seconds some miracle happened on the screen in front of us: The risers widened by a few centimeters to meet code, eleven treads evolved into twelve, everything got shifted an inch to the right for the handrail. Our spiral staircase came alive.

Calculating radii on the fly

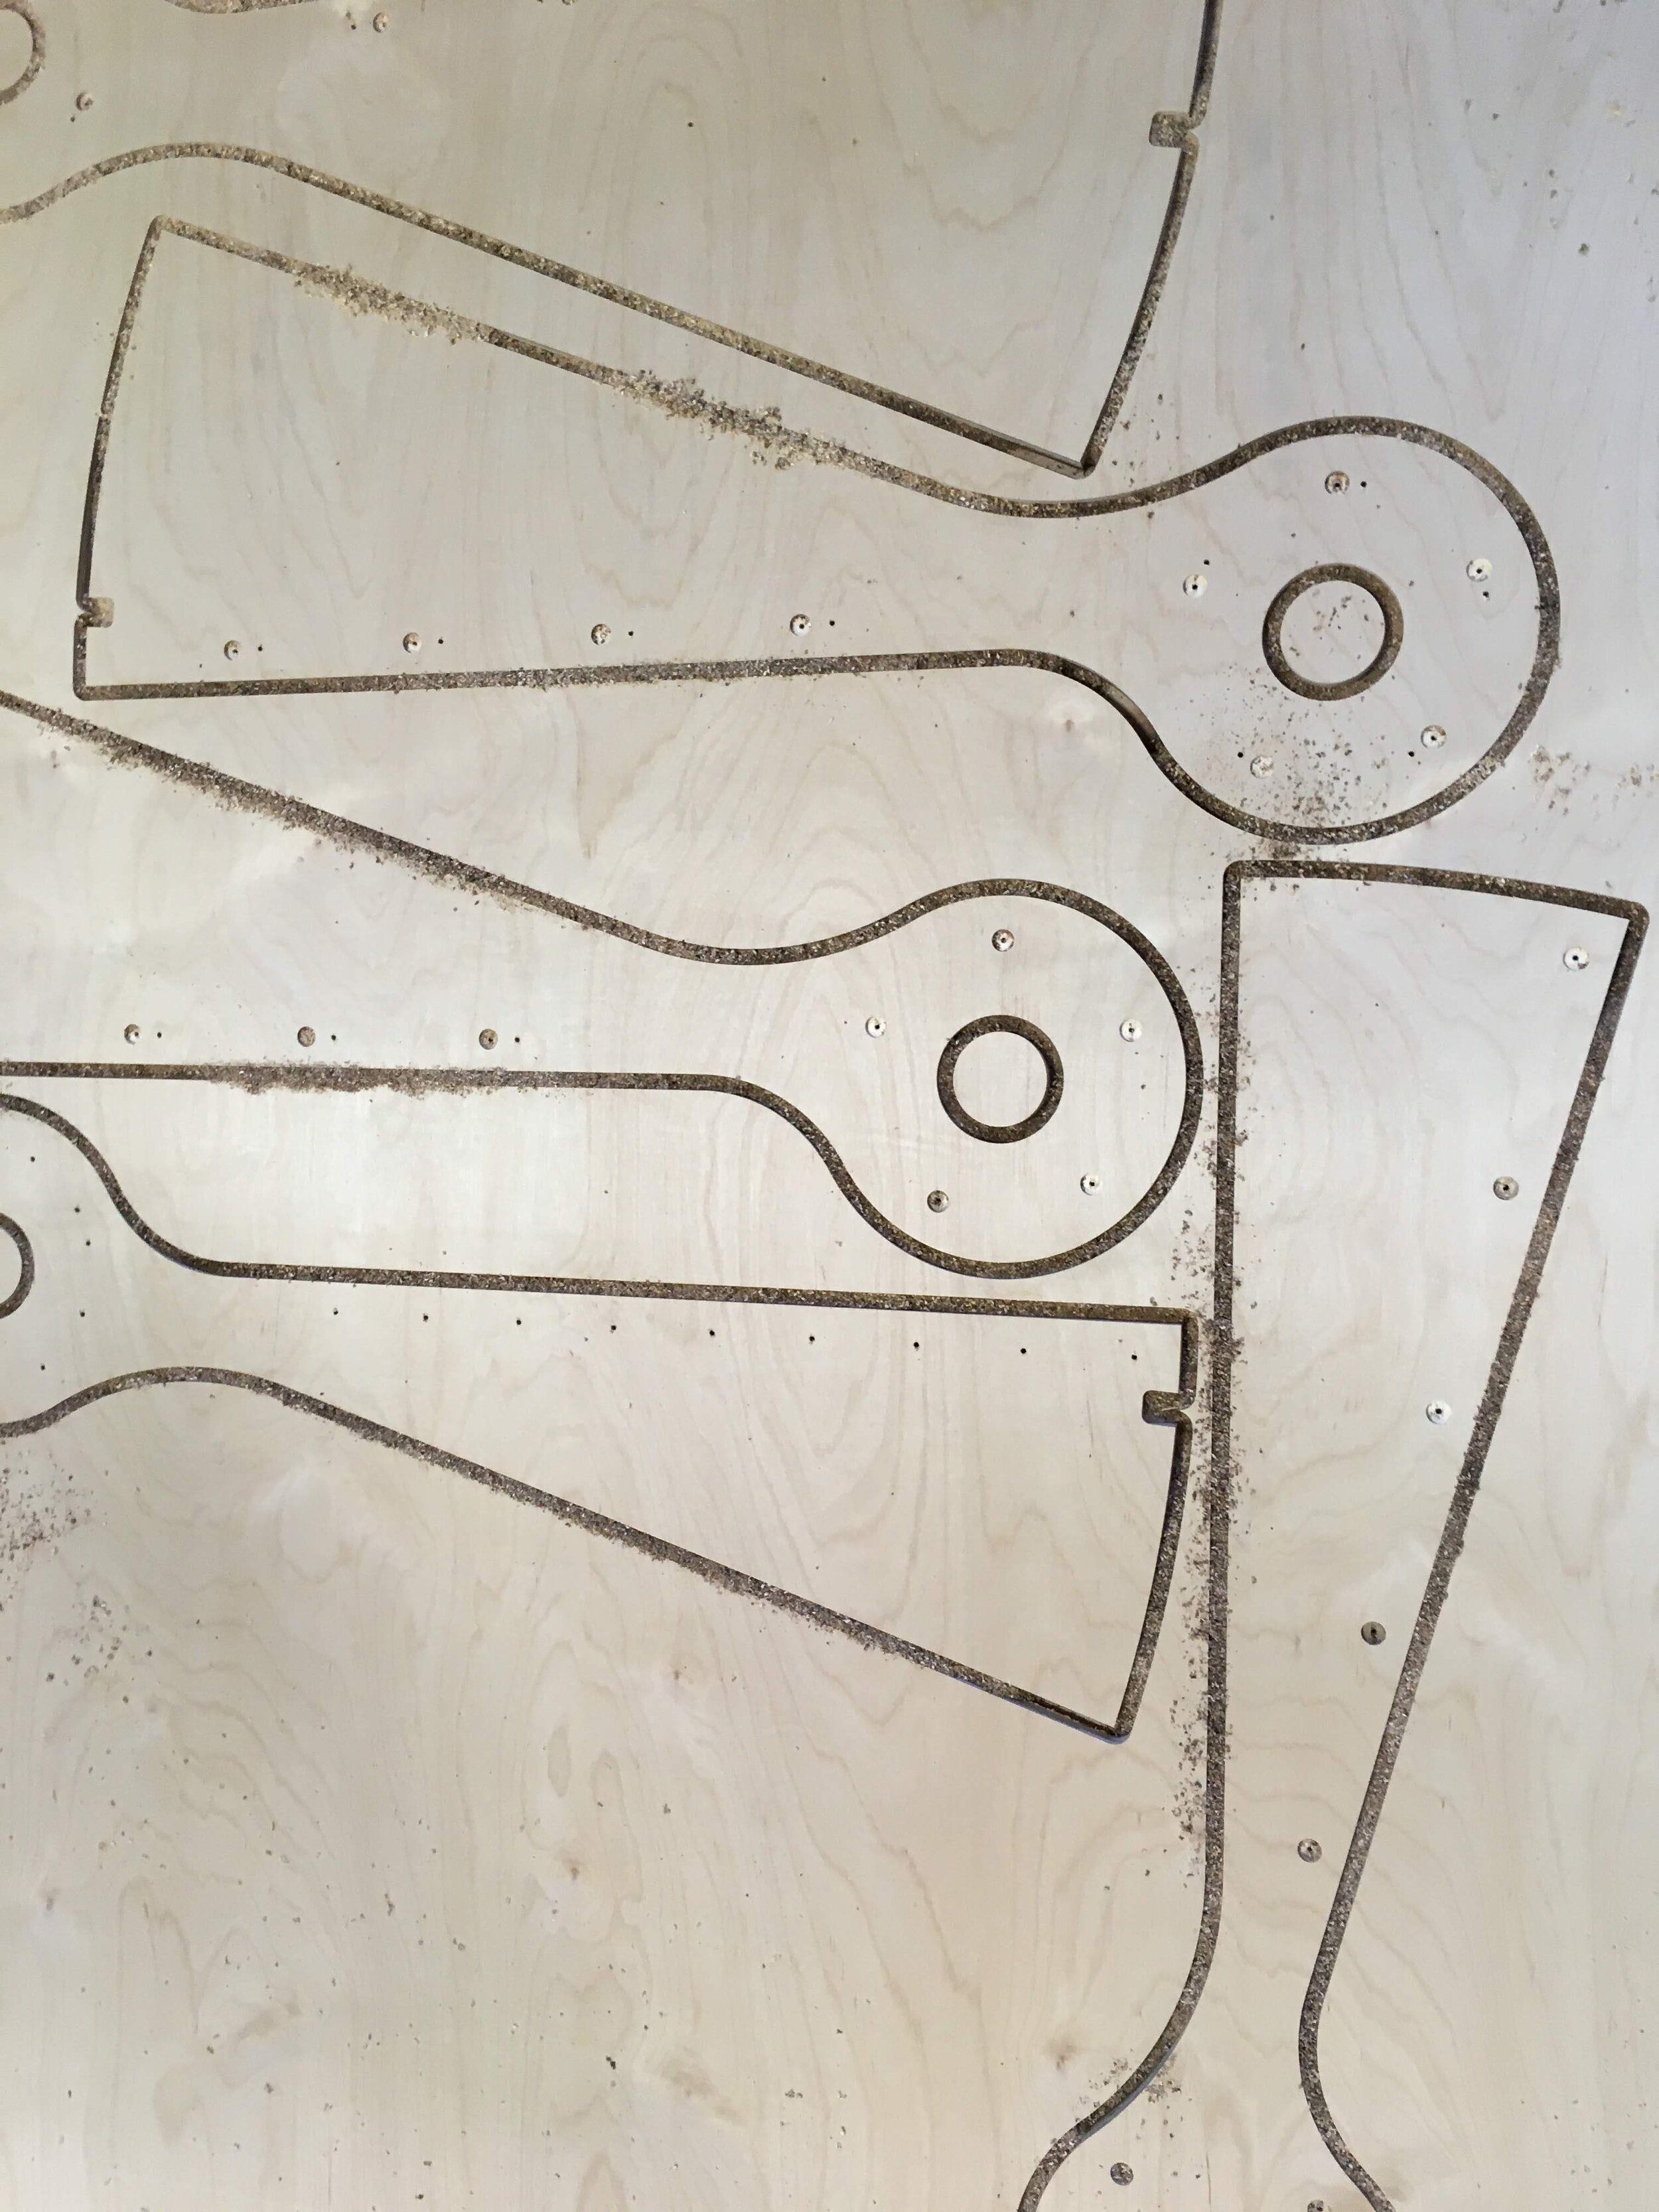
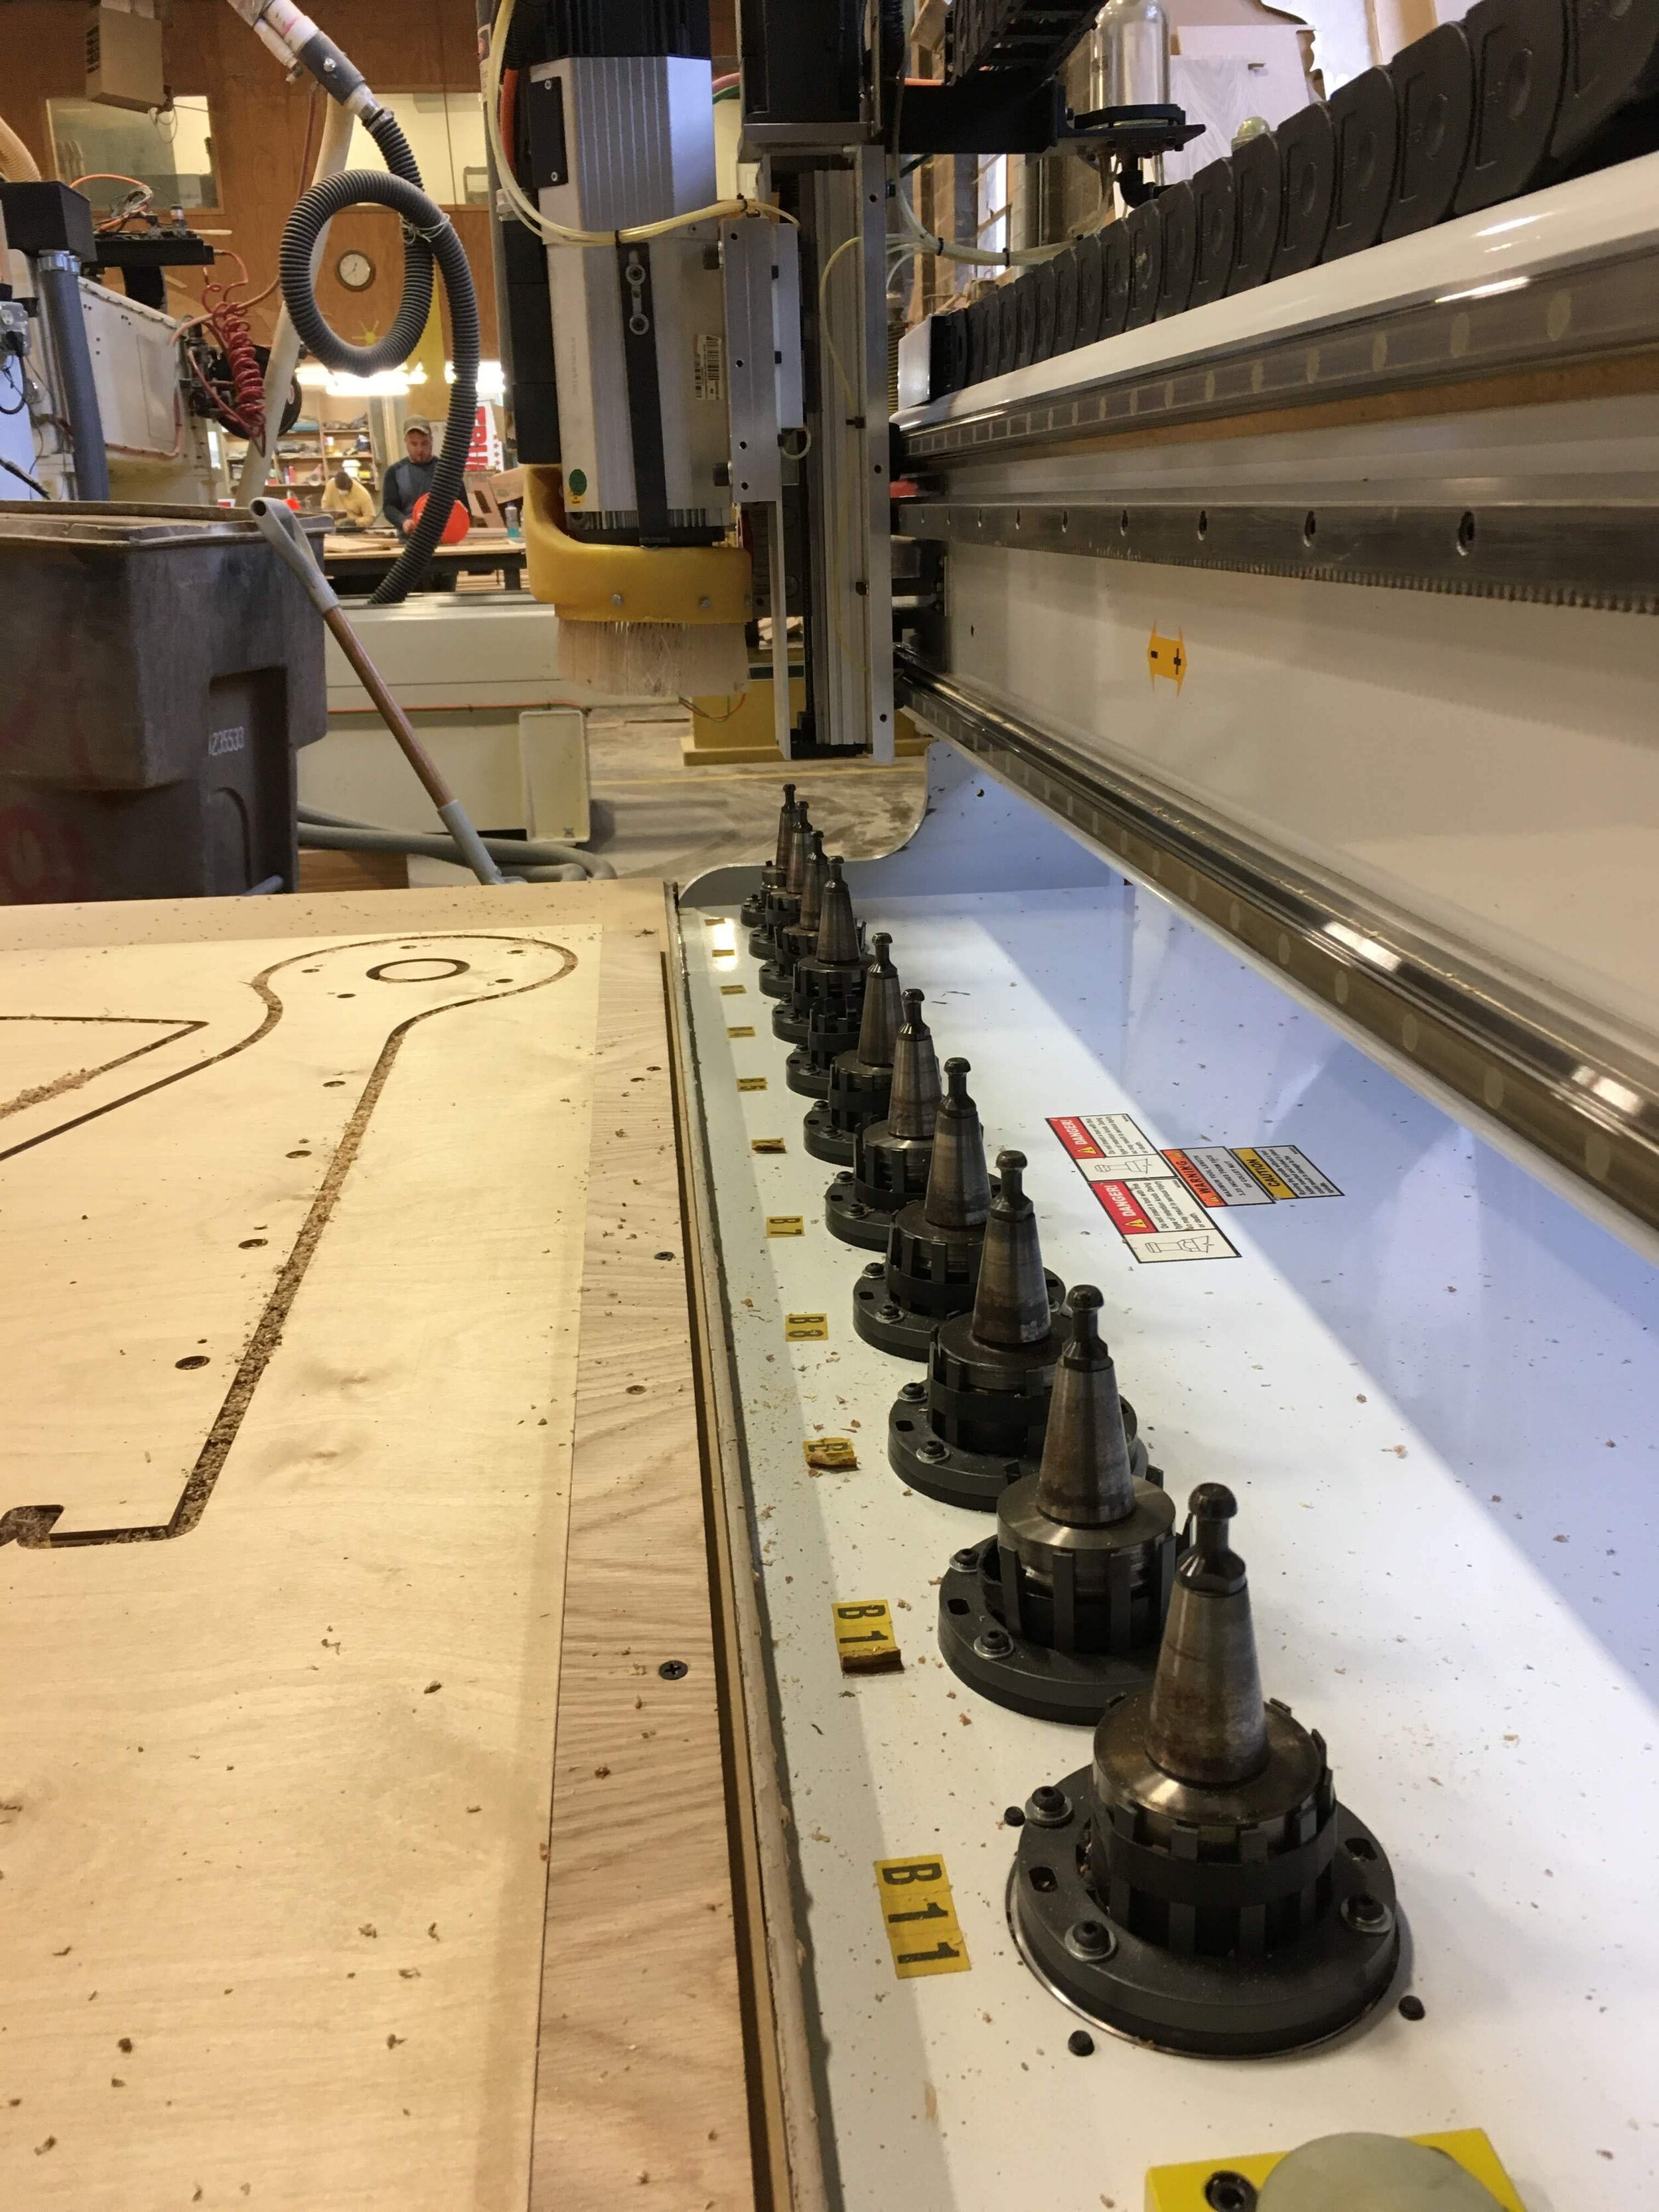
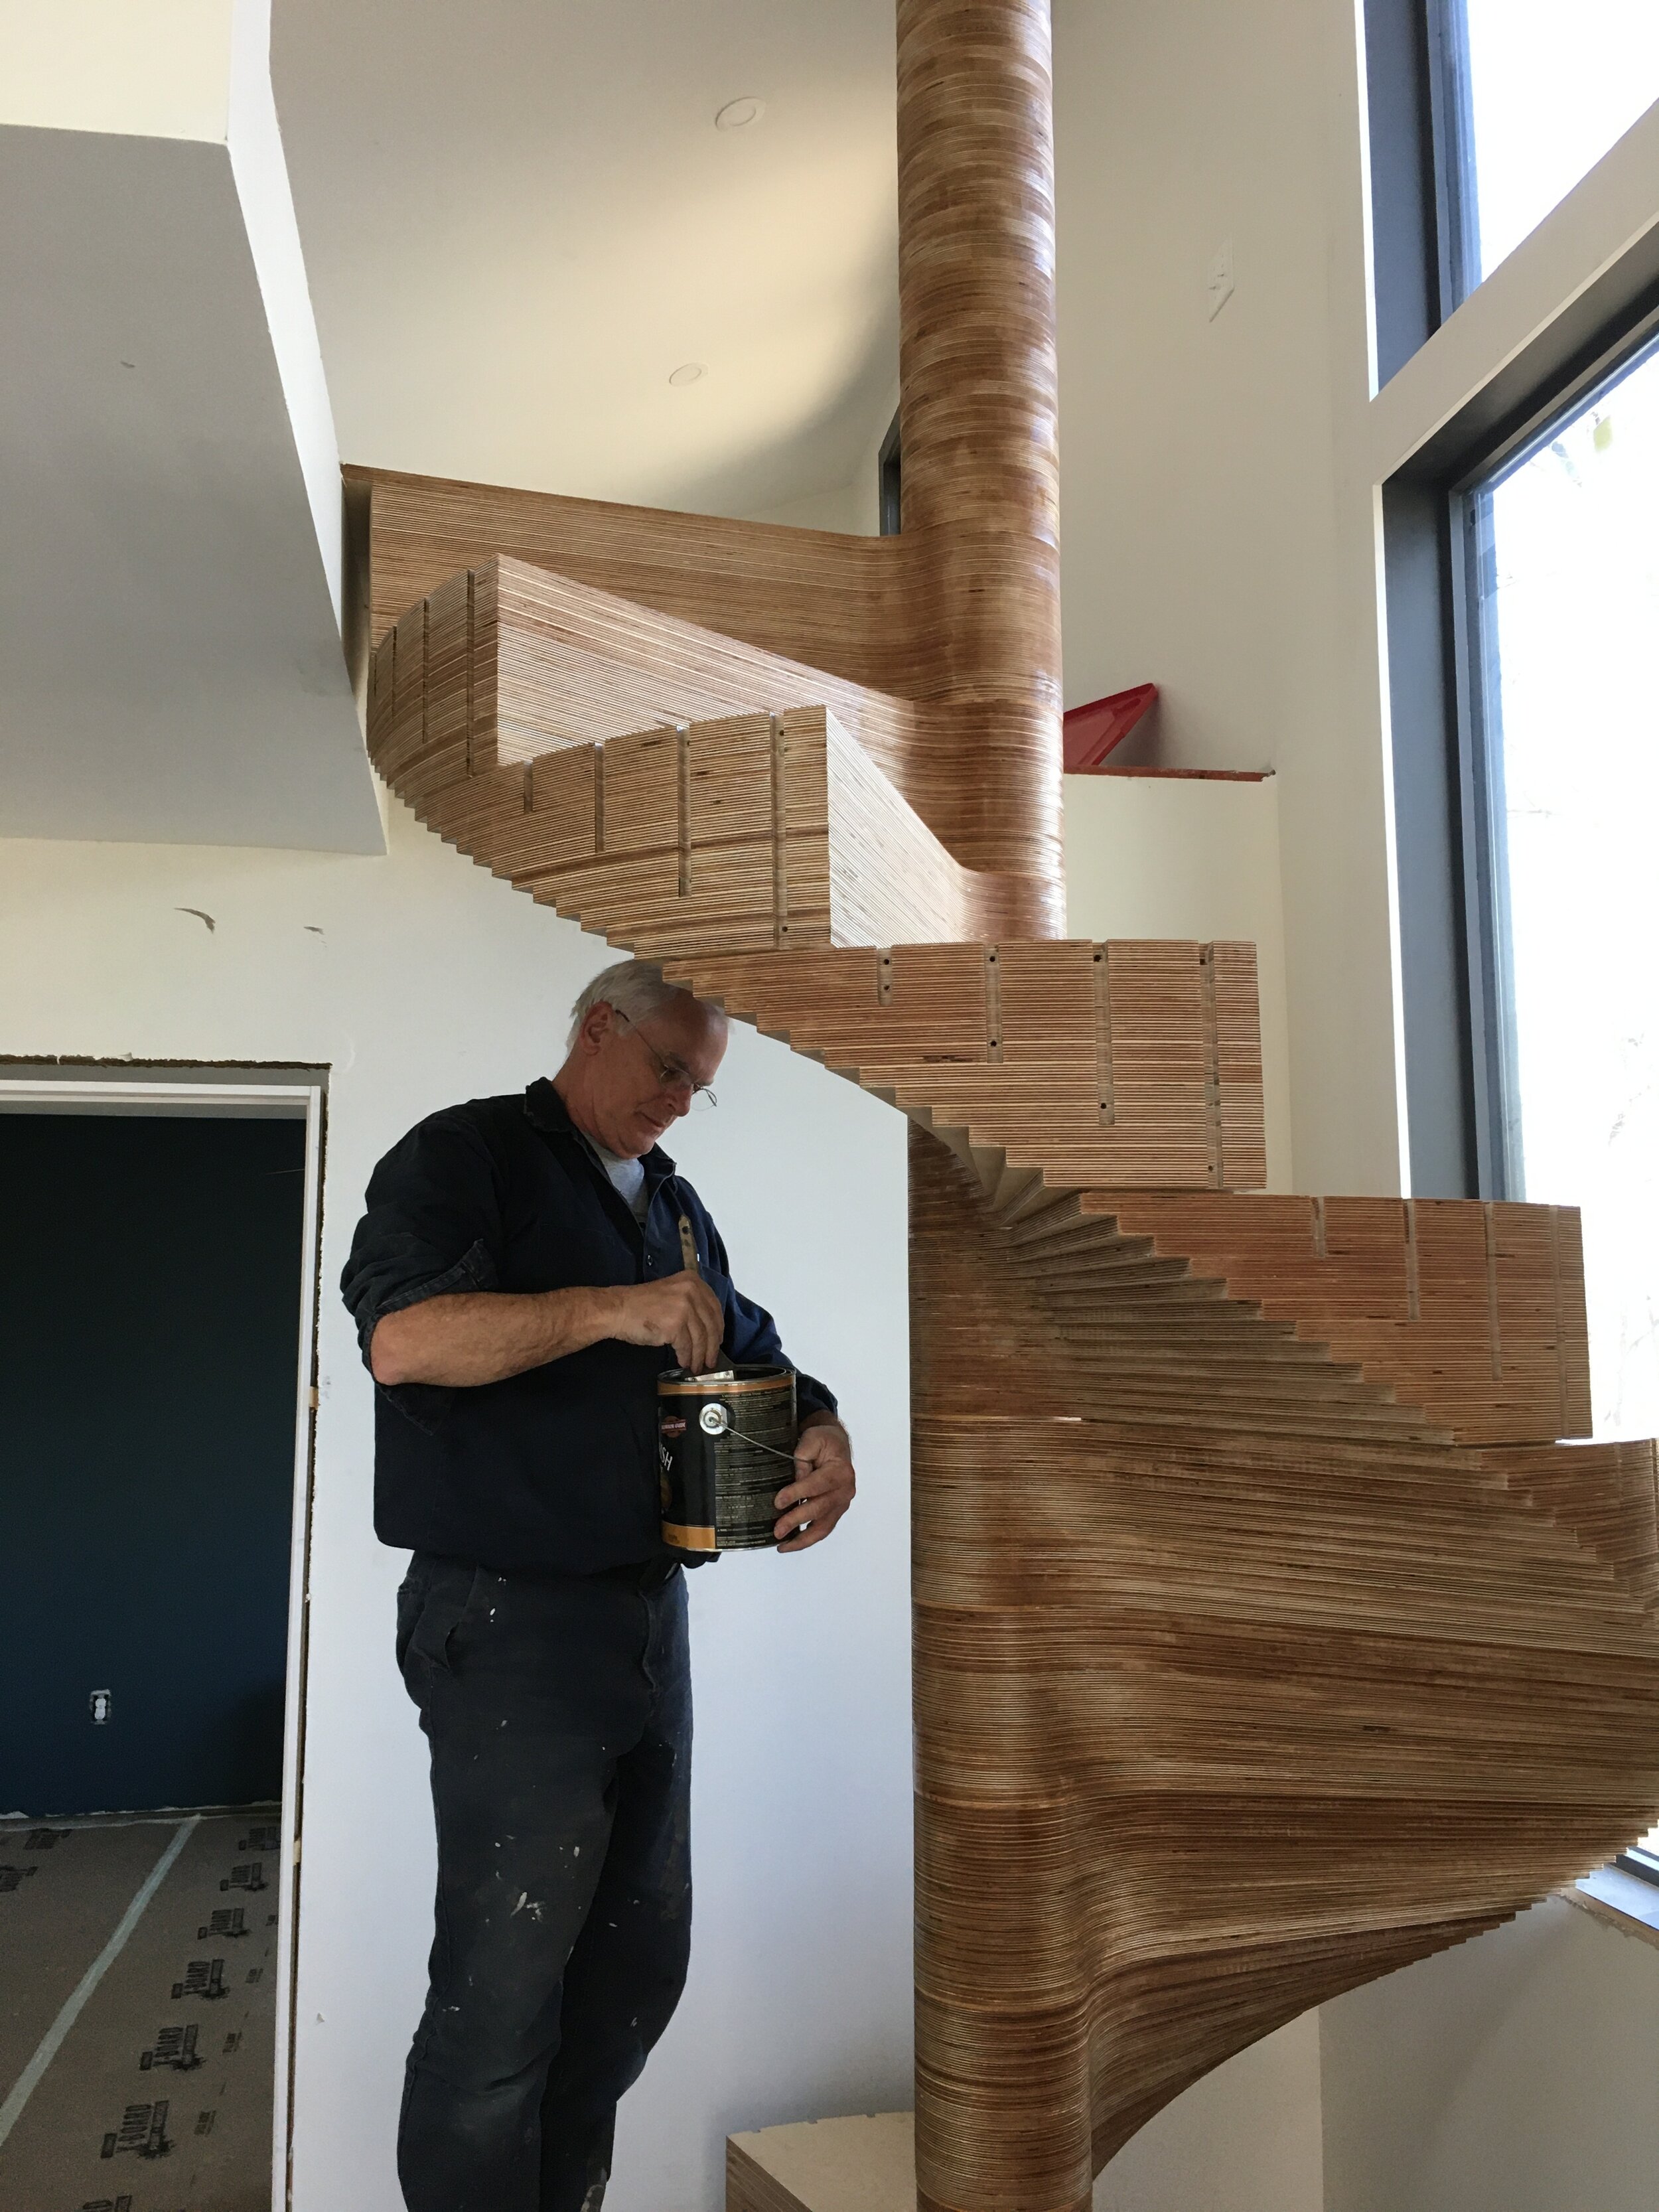
Andrew's CNC wizardry
Andrew is the owner of Nashville CNC, and he agreed to design our staircase. I found Andrew while Googling for a Nashville company that specializes in CNC (computer numerical control) manufacturing. CNC machinery allows a person to draft a project on the computer and then send the design to a tool that precisely cuts out the design.

Ben Uyeda's staircase
I got the idea for our spiral staircase from the blog of DIY designer Ben Uyeda, who built one for his Boston loft. His post about the project closely chronicles his assembly process, and he even published the design file so that others could replicate the project.
For the sake of our particular home dimensions (and code compliance), we needed to make a few tweaks to Ben’s design file, and Andrew agreed to make them for us at no cost. I sometimes wondered if he regretted that. The process was slow as we tried to marry the code restrictions with the dimensions of the hole in the Dog House loft's floor. We worked in eighth-inches, adjusting each stair tread’s width so it was large enough to satisfy a persnickety inspector but skinny enough to clear the window frame abutting the north wall of the house.
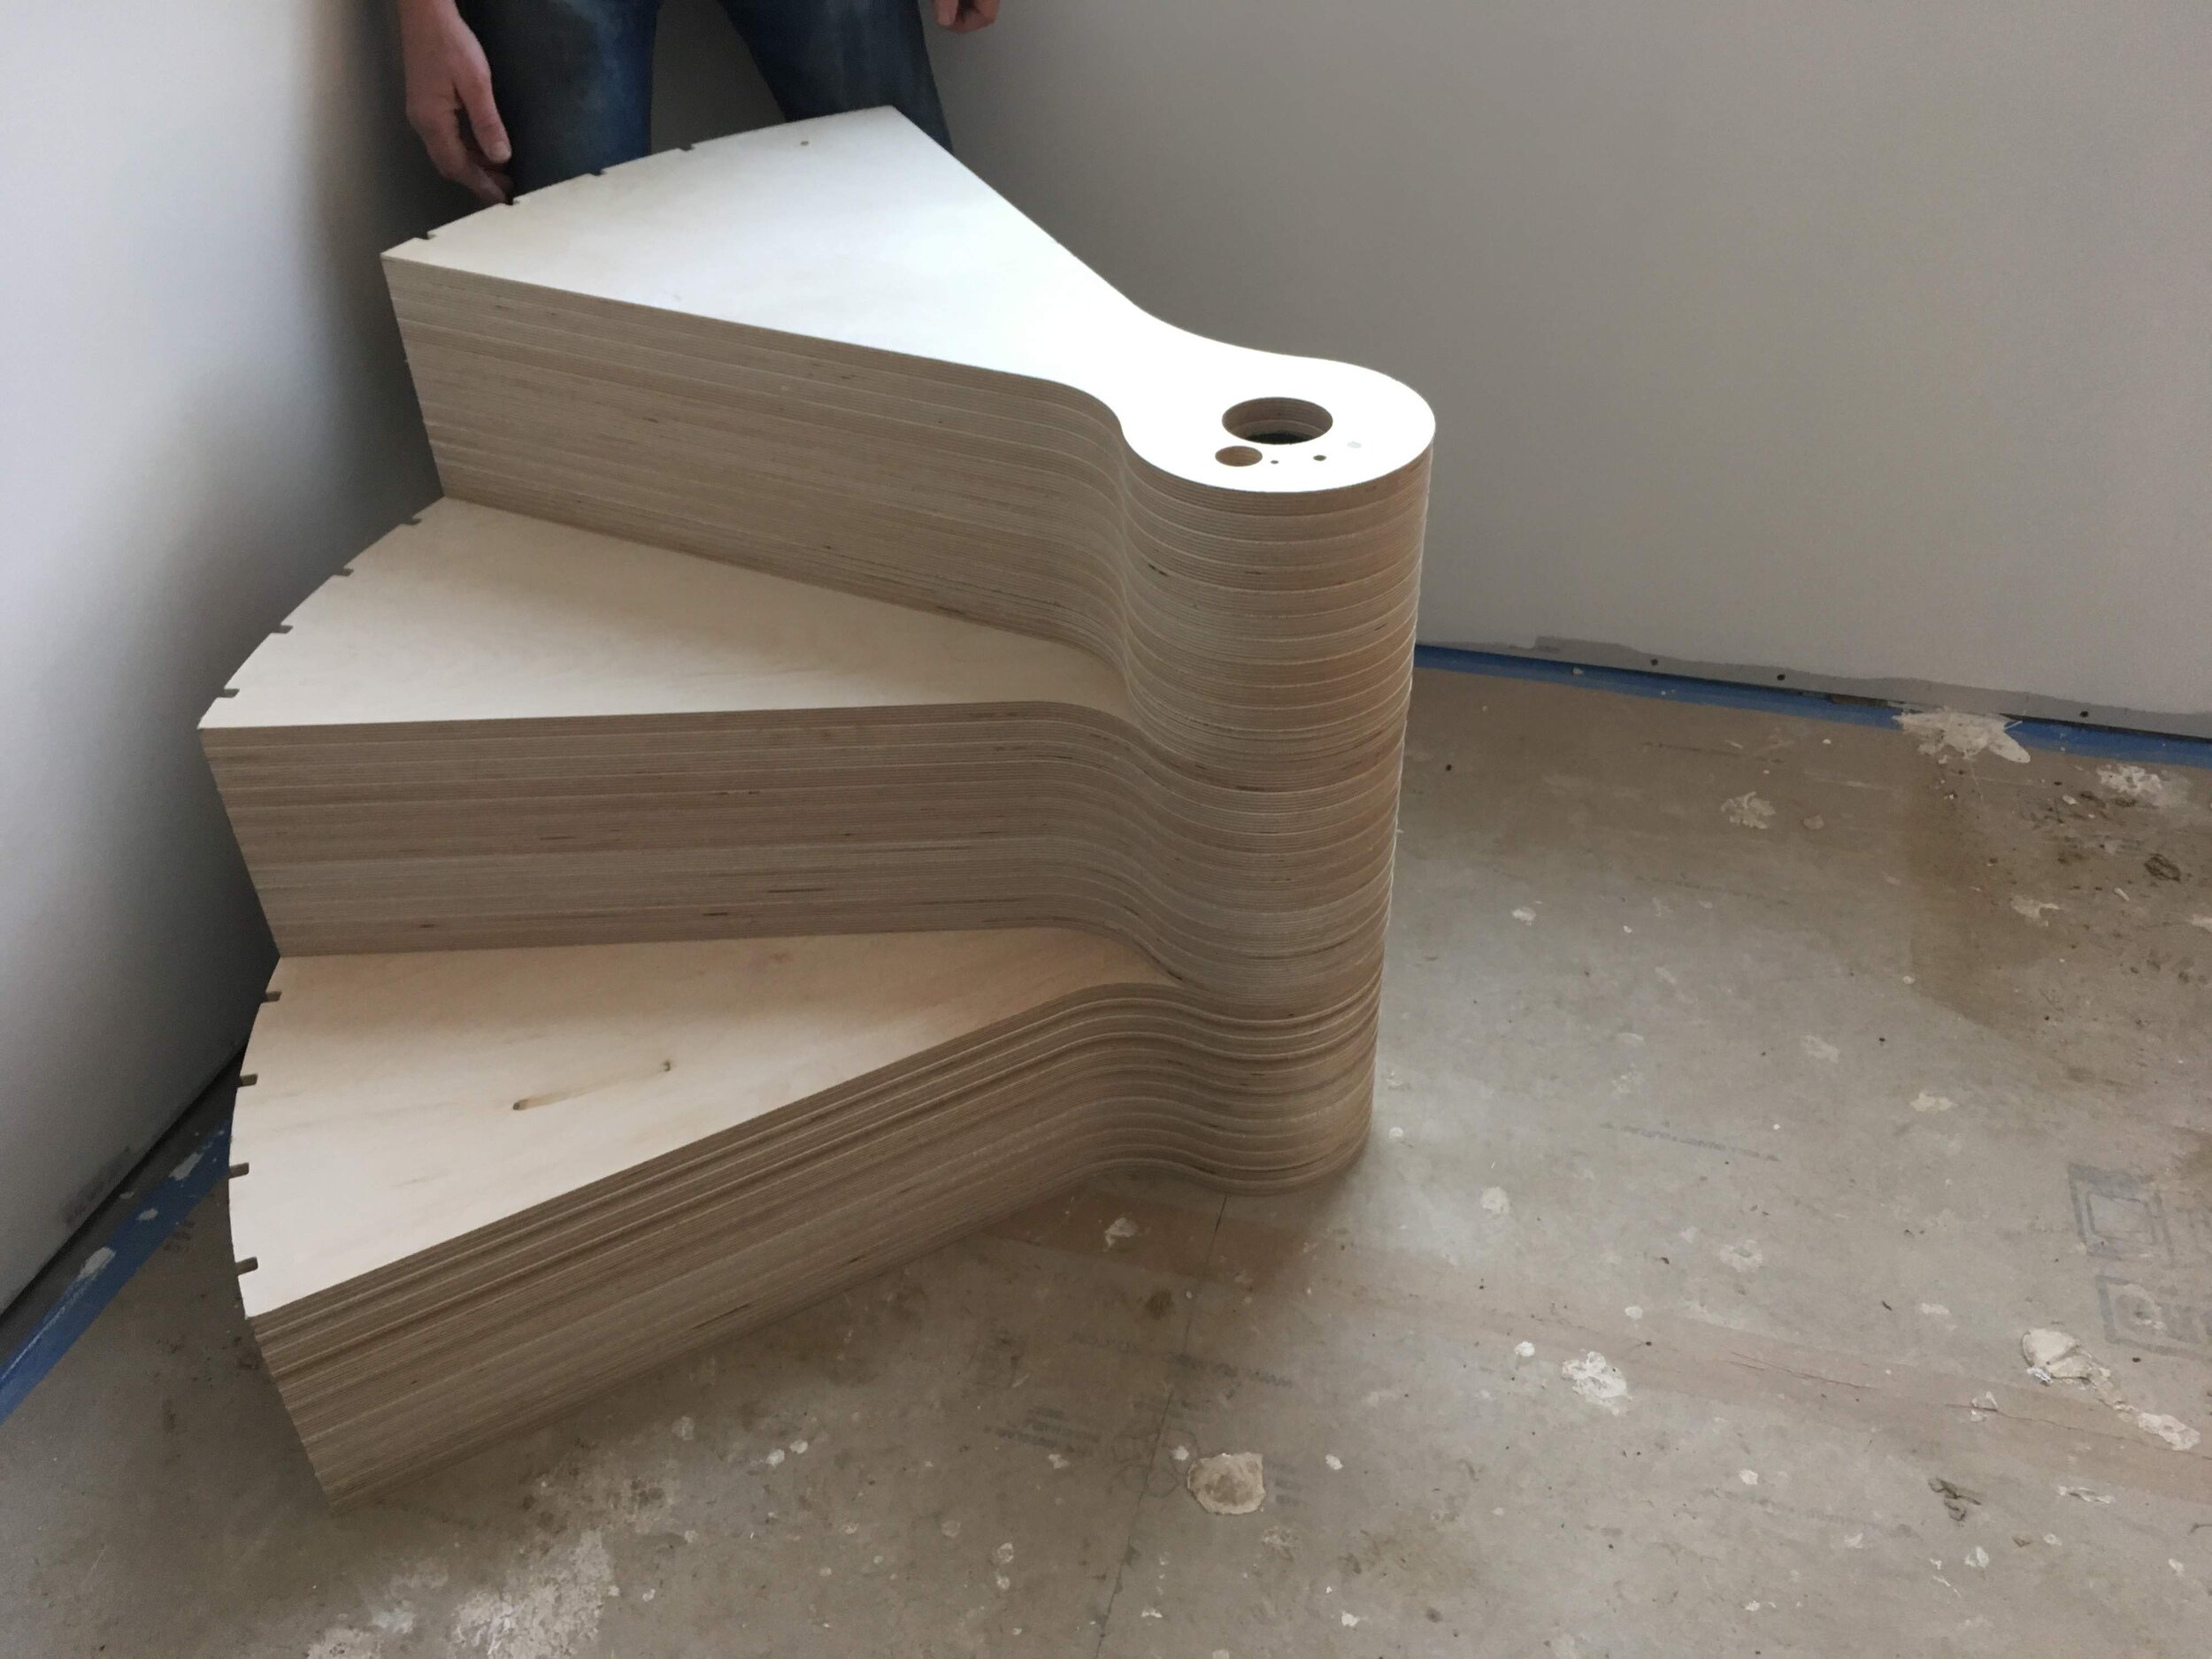
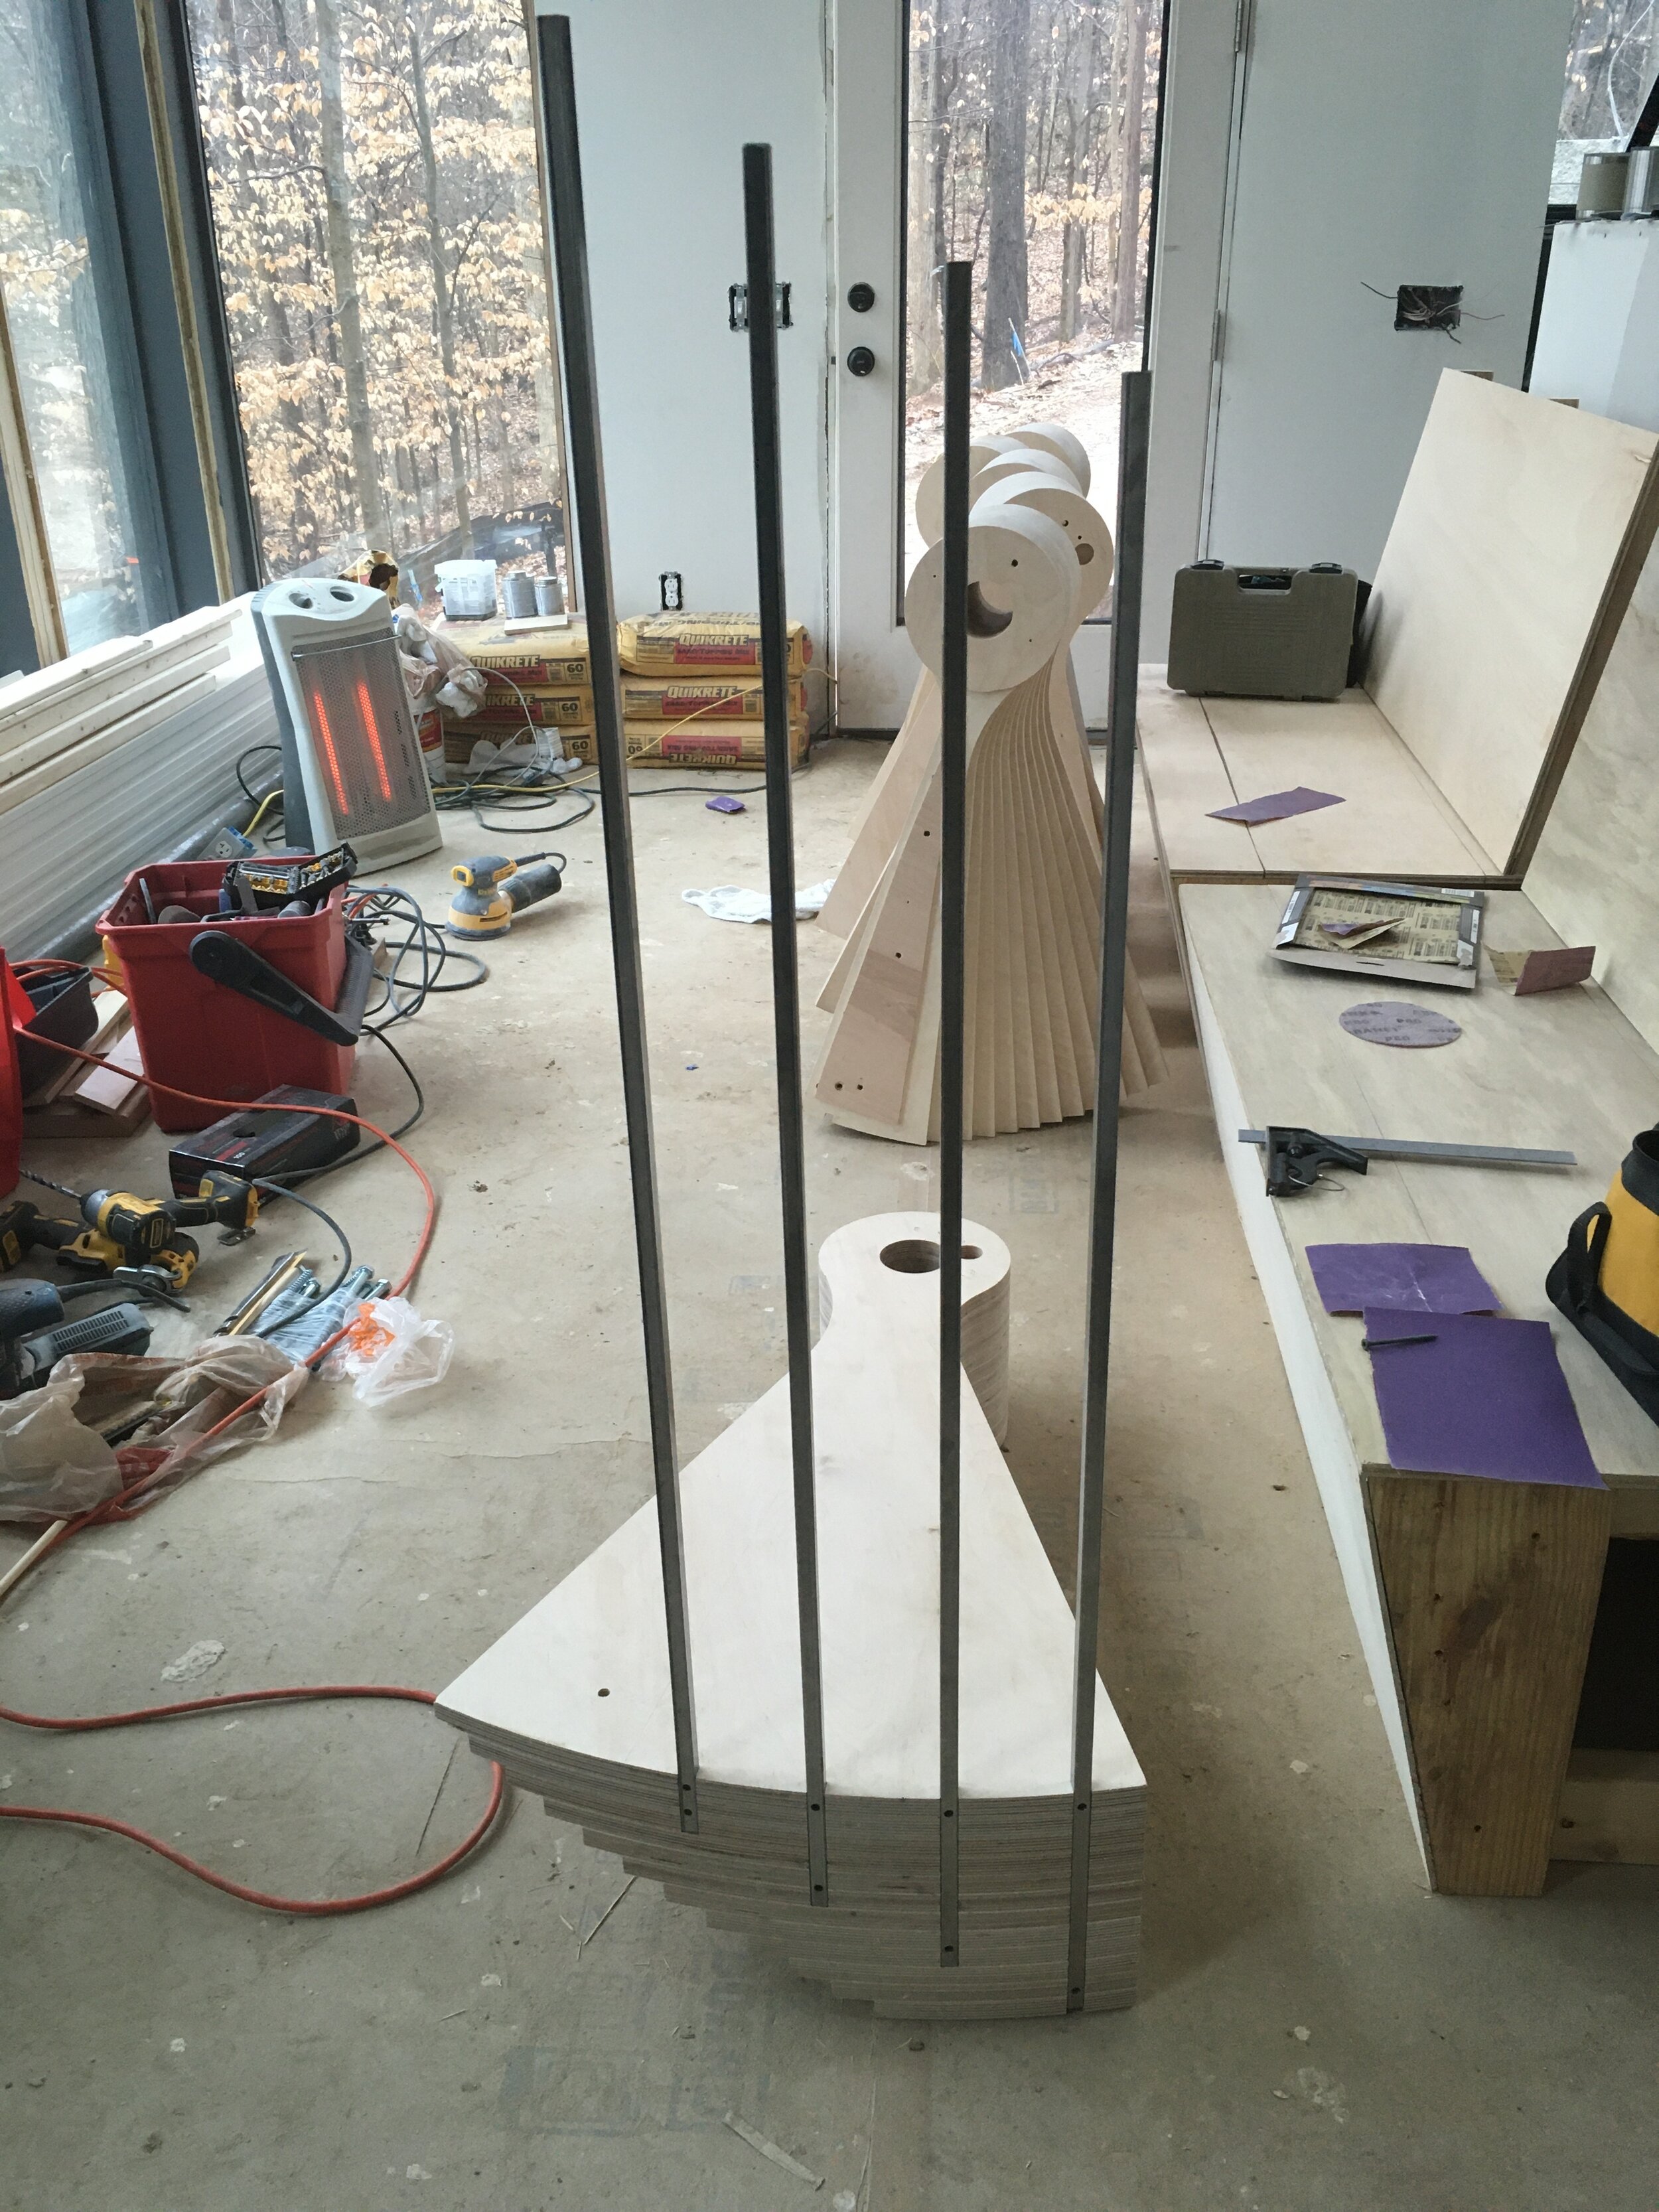
I spent weeks visiting Andrew’s studio. Some days we just stared at the computer and reviewed the residential code handbook. Other days we cut prototypes and experimented with ways to attach the plywood sheets of each tread to each other; then, we played with ways to securely stack the treads, each of which weighed about forty pounds. Finally, by Christmas, we had 144 wooden pieces of a puzzle that I still wasn’t sure how to put together.
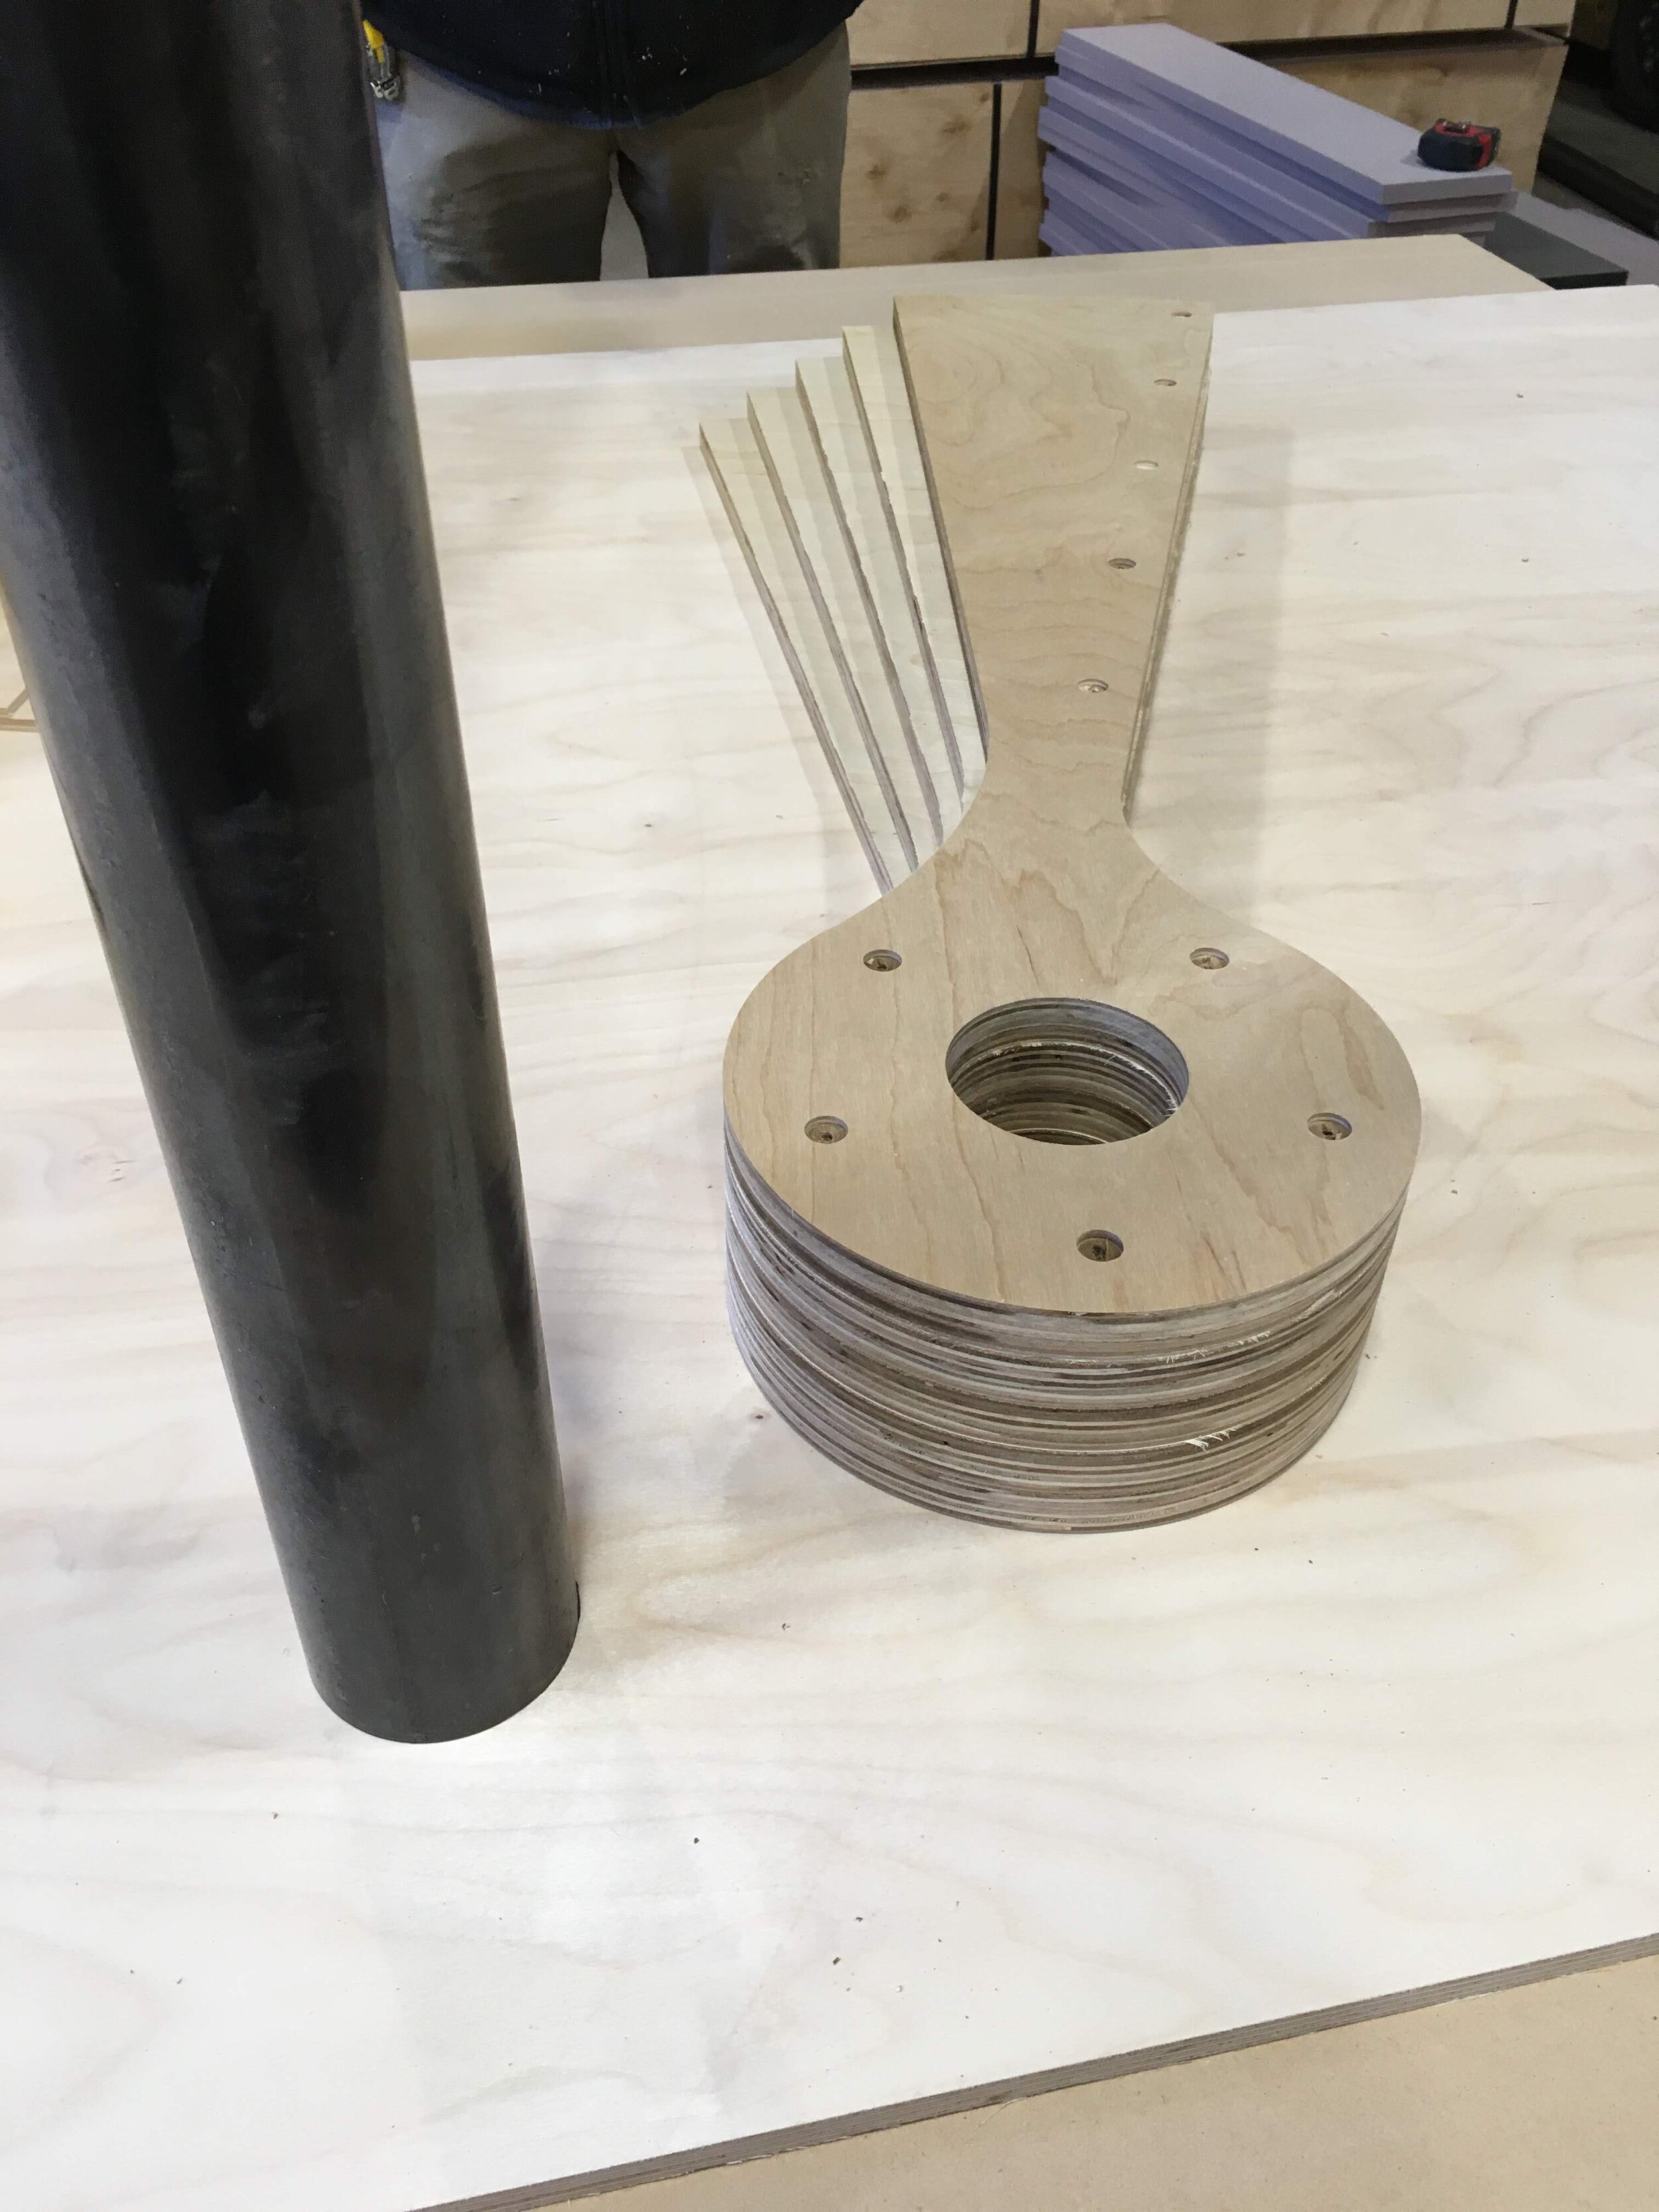
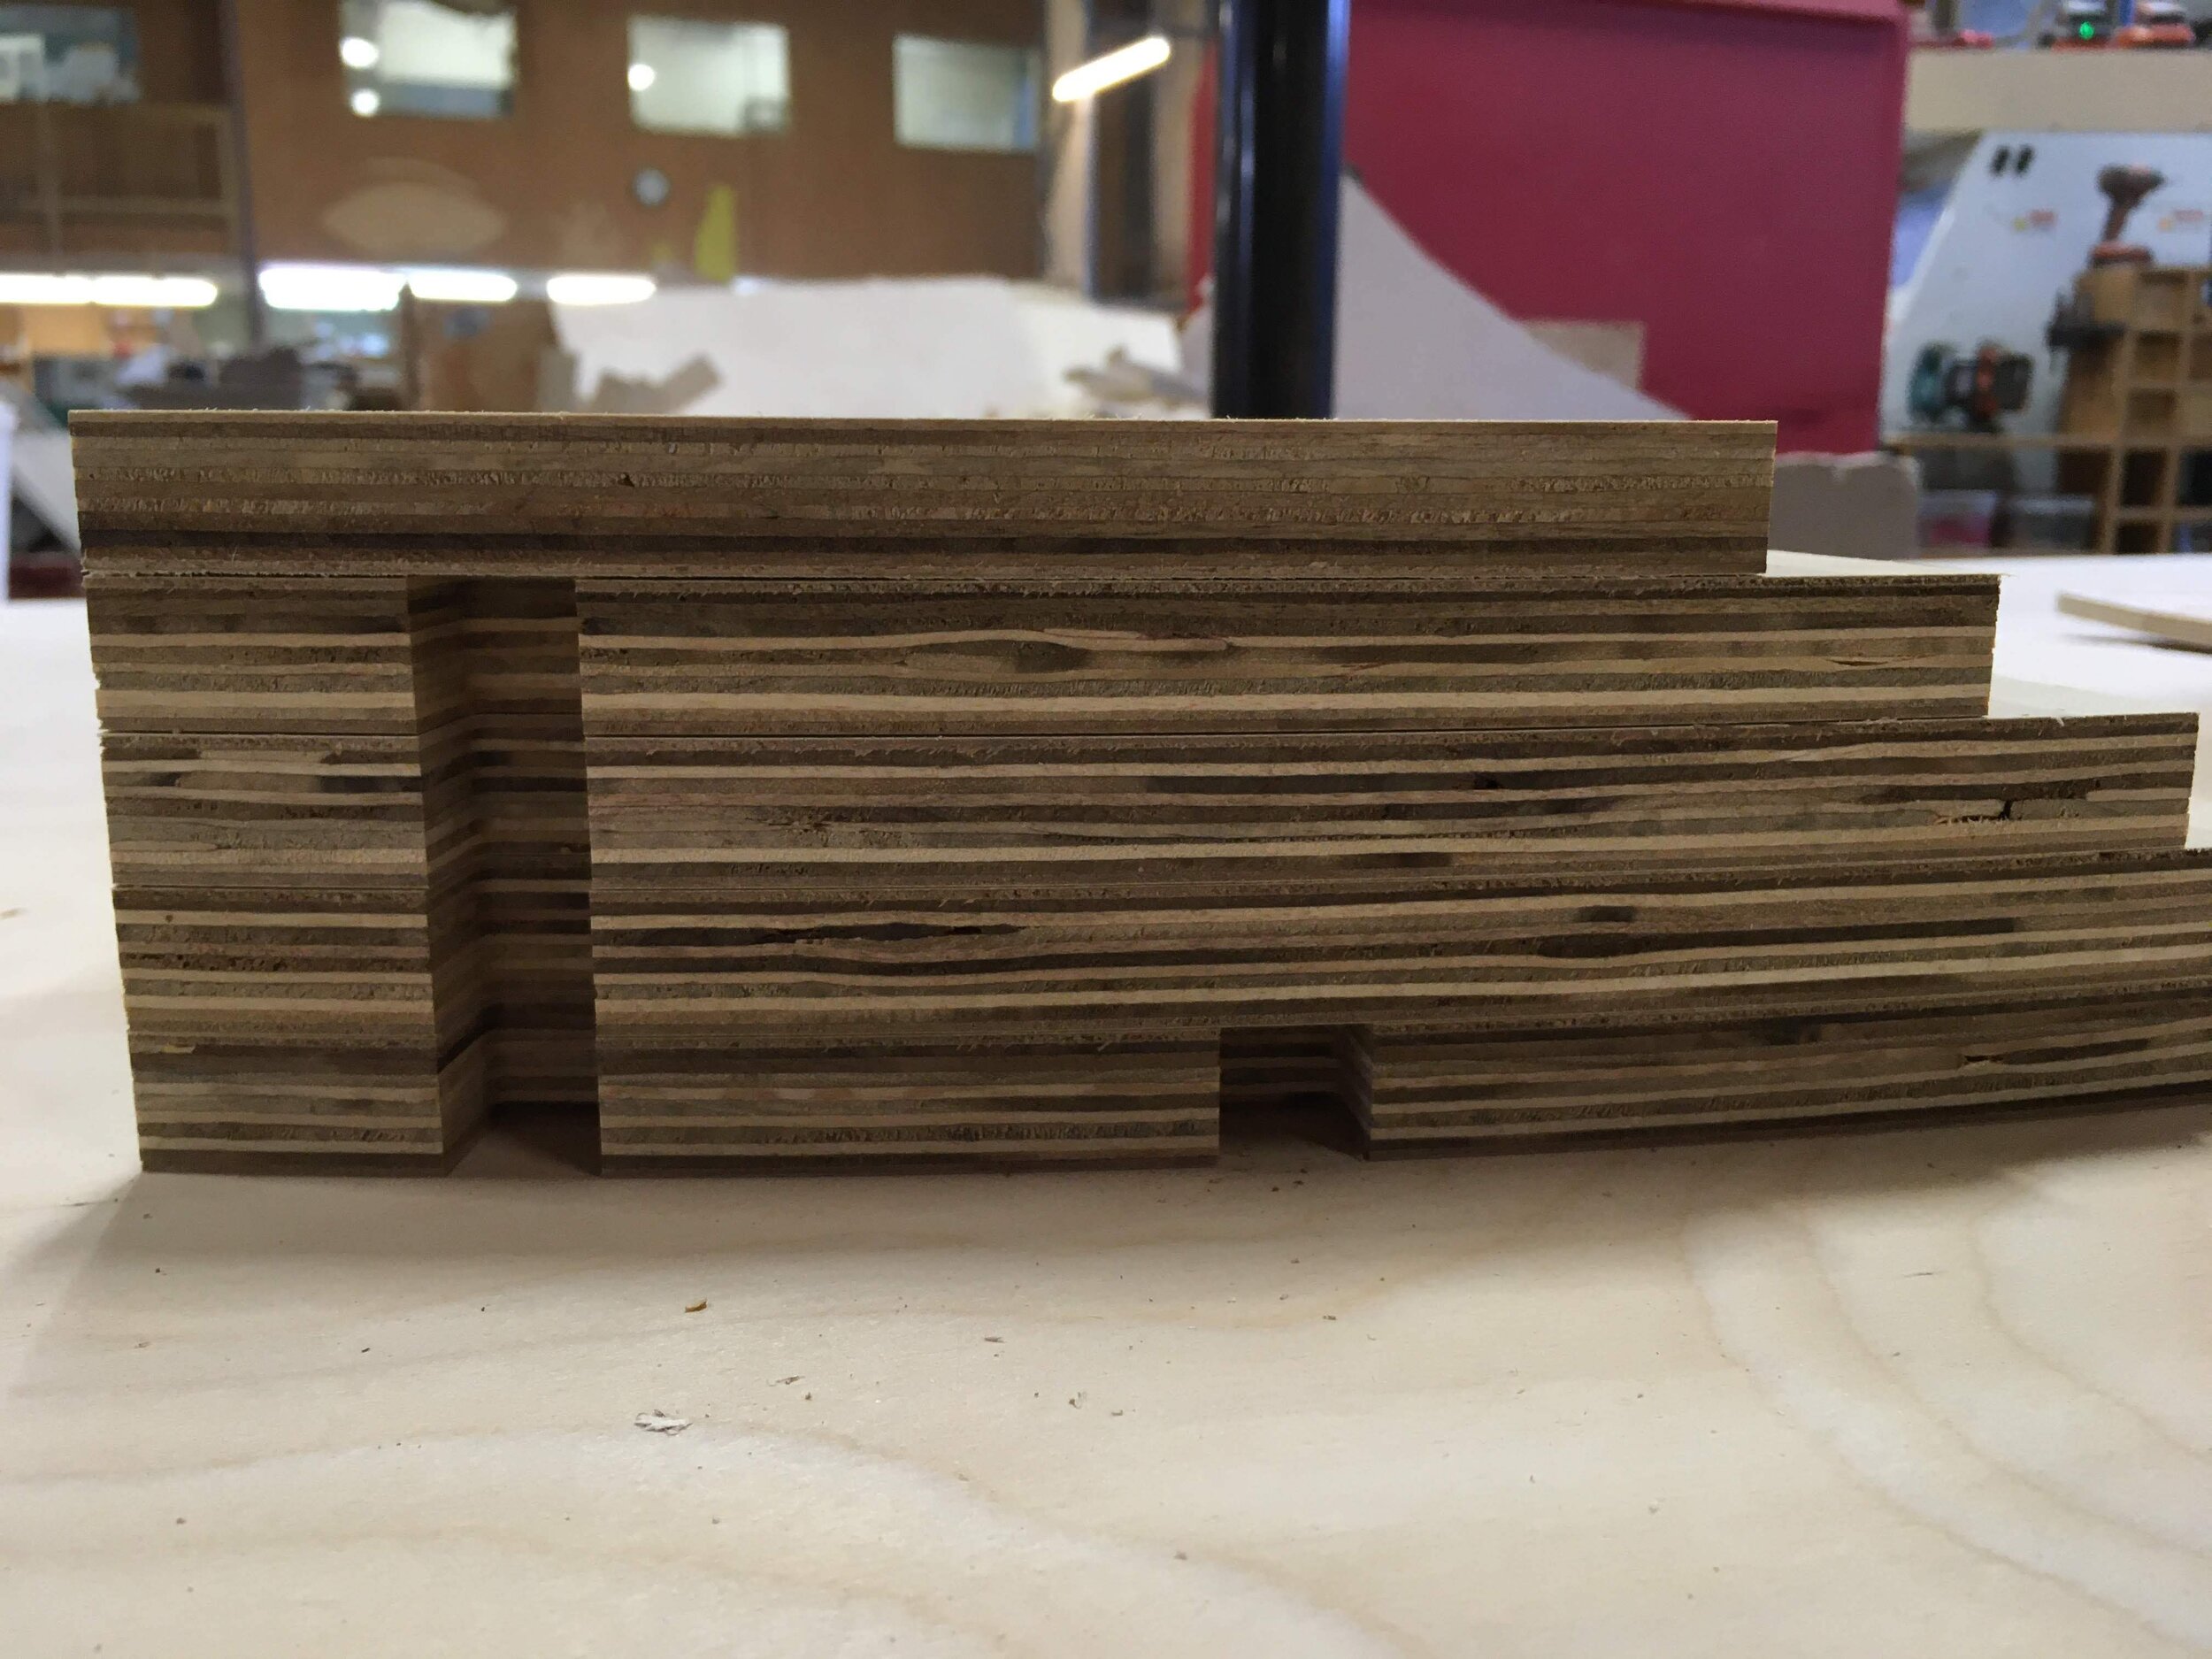
Here’s how the staircase works:
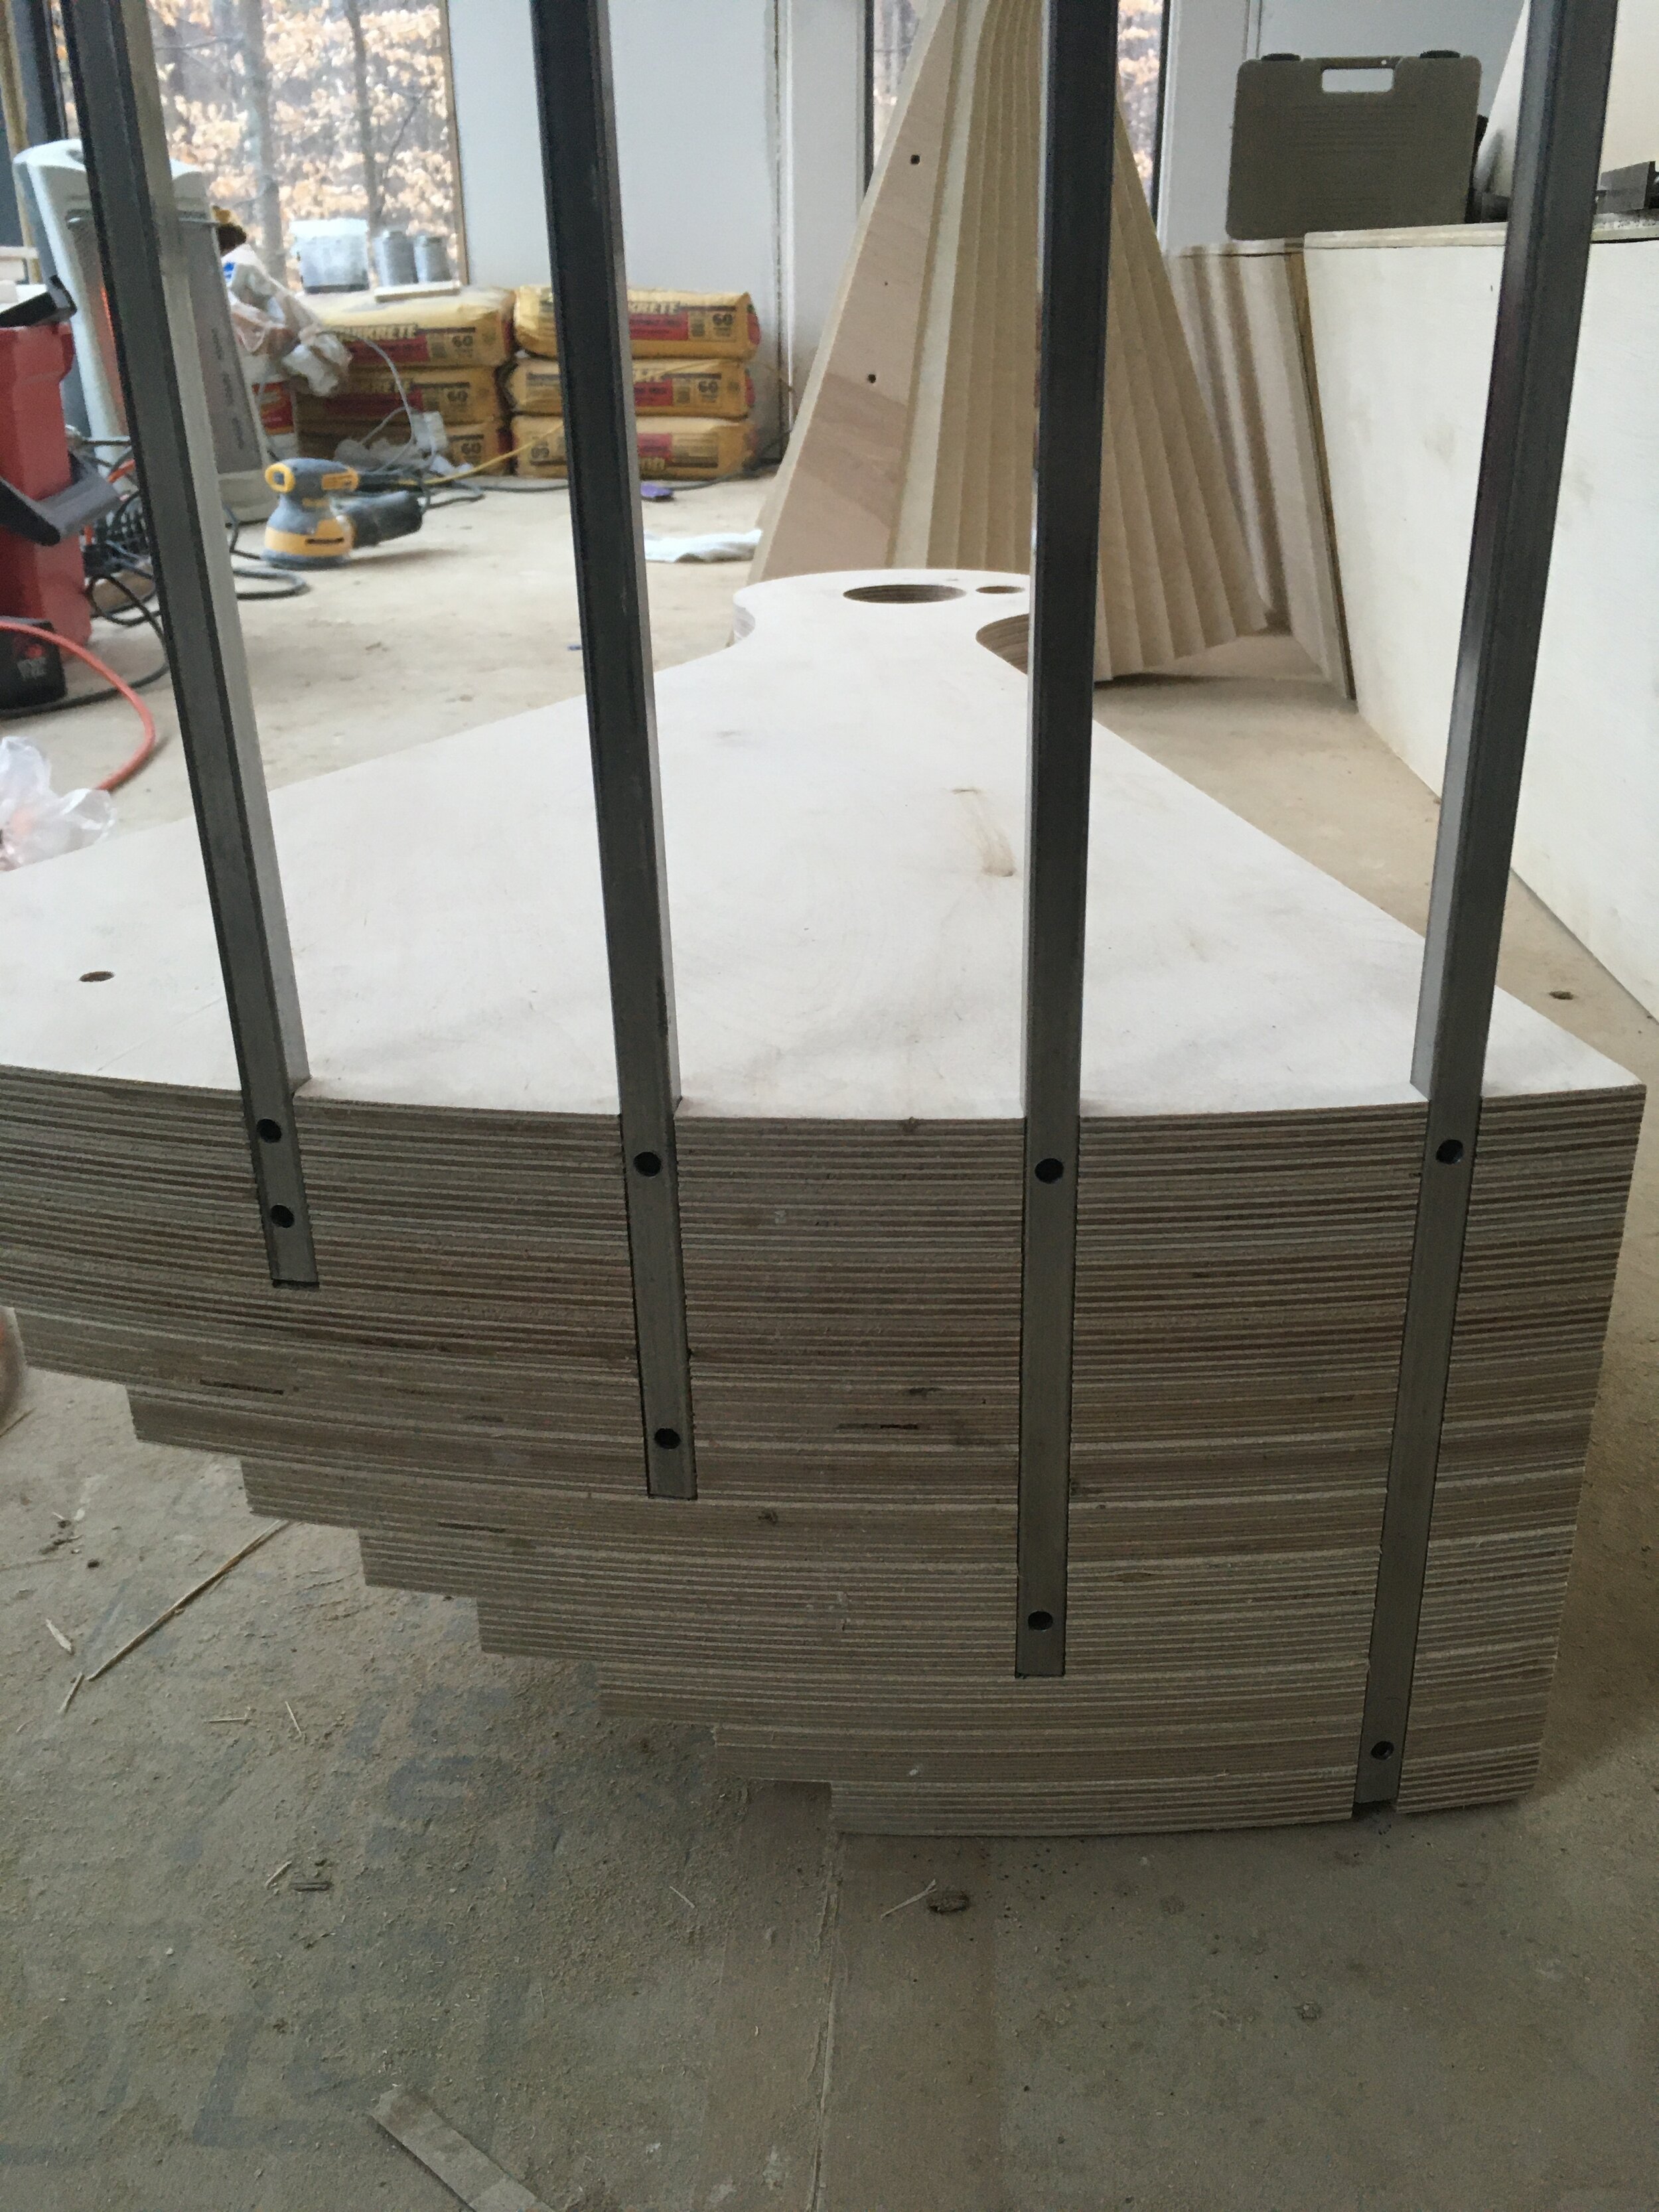
Each tread is made of twelve plywood pieces stacked on top of each other and secured with wood screws and glue (to prevent creaking). Andrew had the idea of cutting holes in each piece so that wooden dowels could run the height of the tread and help the twelves pieces align when stacked. There are also dowels in the center section of each completed tread so that, when stacked, the next tread would fit exactly where it needs in order to space the treads evenly. In the center part of the staircase is a metal pipe that each tread fits around.
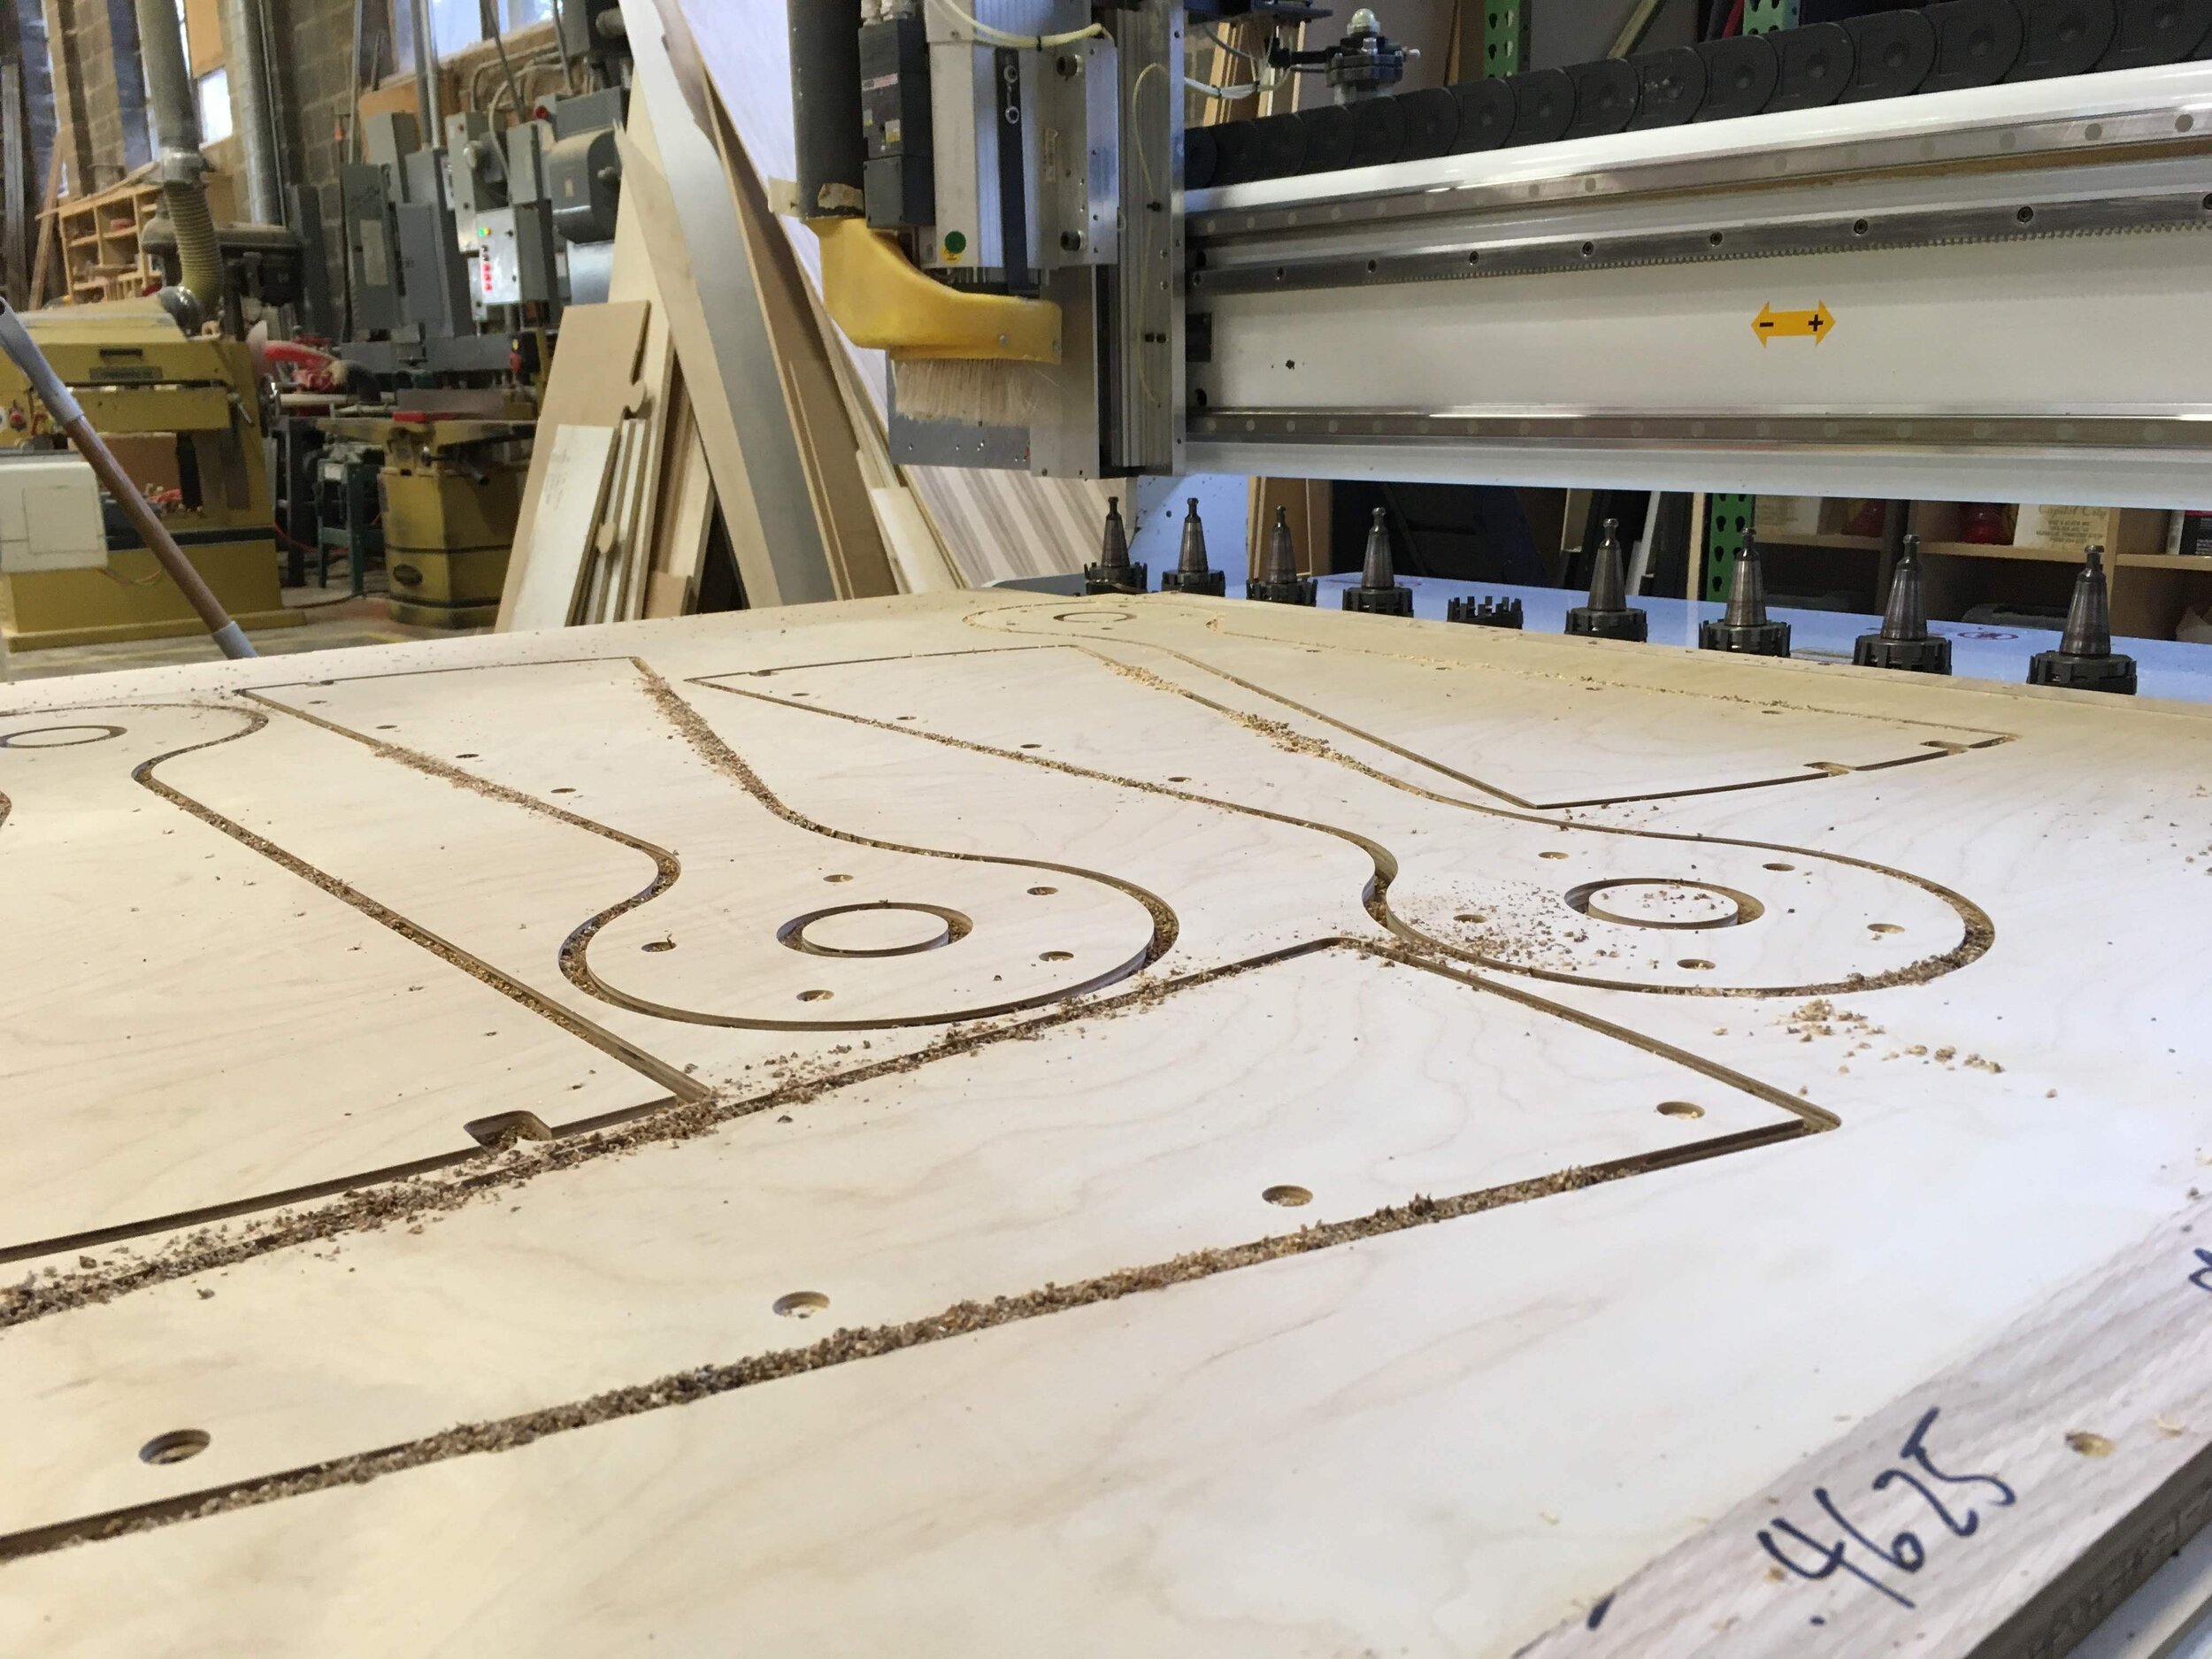

That was the easy part. With the exception of the dowel rods, Ben Uyeda had already executed this design. Andrew just had to download Ben’s CNC drawings and tweak them to fit the space.
The hardest part of the staircase—and in fact, the hardest part of the entire house-building endeavor—was designing a code-compliant handrail. According to inspectapedia.com, a layperson’s guide to building code specifics that I consulted often during construction, “Staircases are the second-most controversial topic among codes inspectors; handrails are the first.”

A beautiful, absolutely-not-up-to-code CNC spiral staircase from Aldworth James & Bond
Ben’s original staircase, as beautiful as it is, doesn’t have a handrail. In fact, if you Google “CNC spiral staircase,” you can find a handful of similar projects—none of which have handrails. At first I thought it was because handrails might turn this wooden sculpture into something… well… a little more utilitarian. But as I spent more and more time trying to engineer a handrail that would meet code and, more importantly, keep people safe as they ascended into the air above a concrete floor, I realized: Designing a one-off handrail is friggin’ impossible.
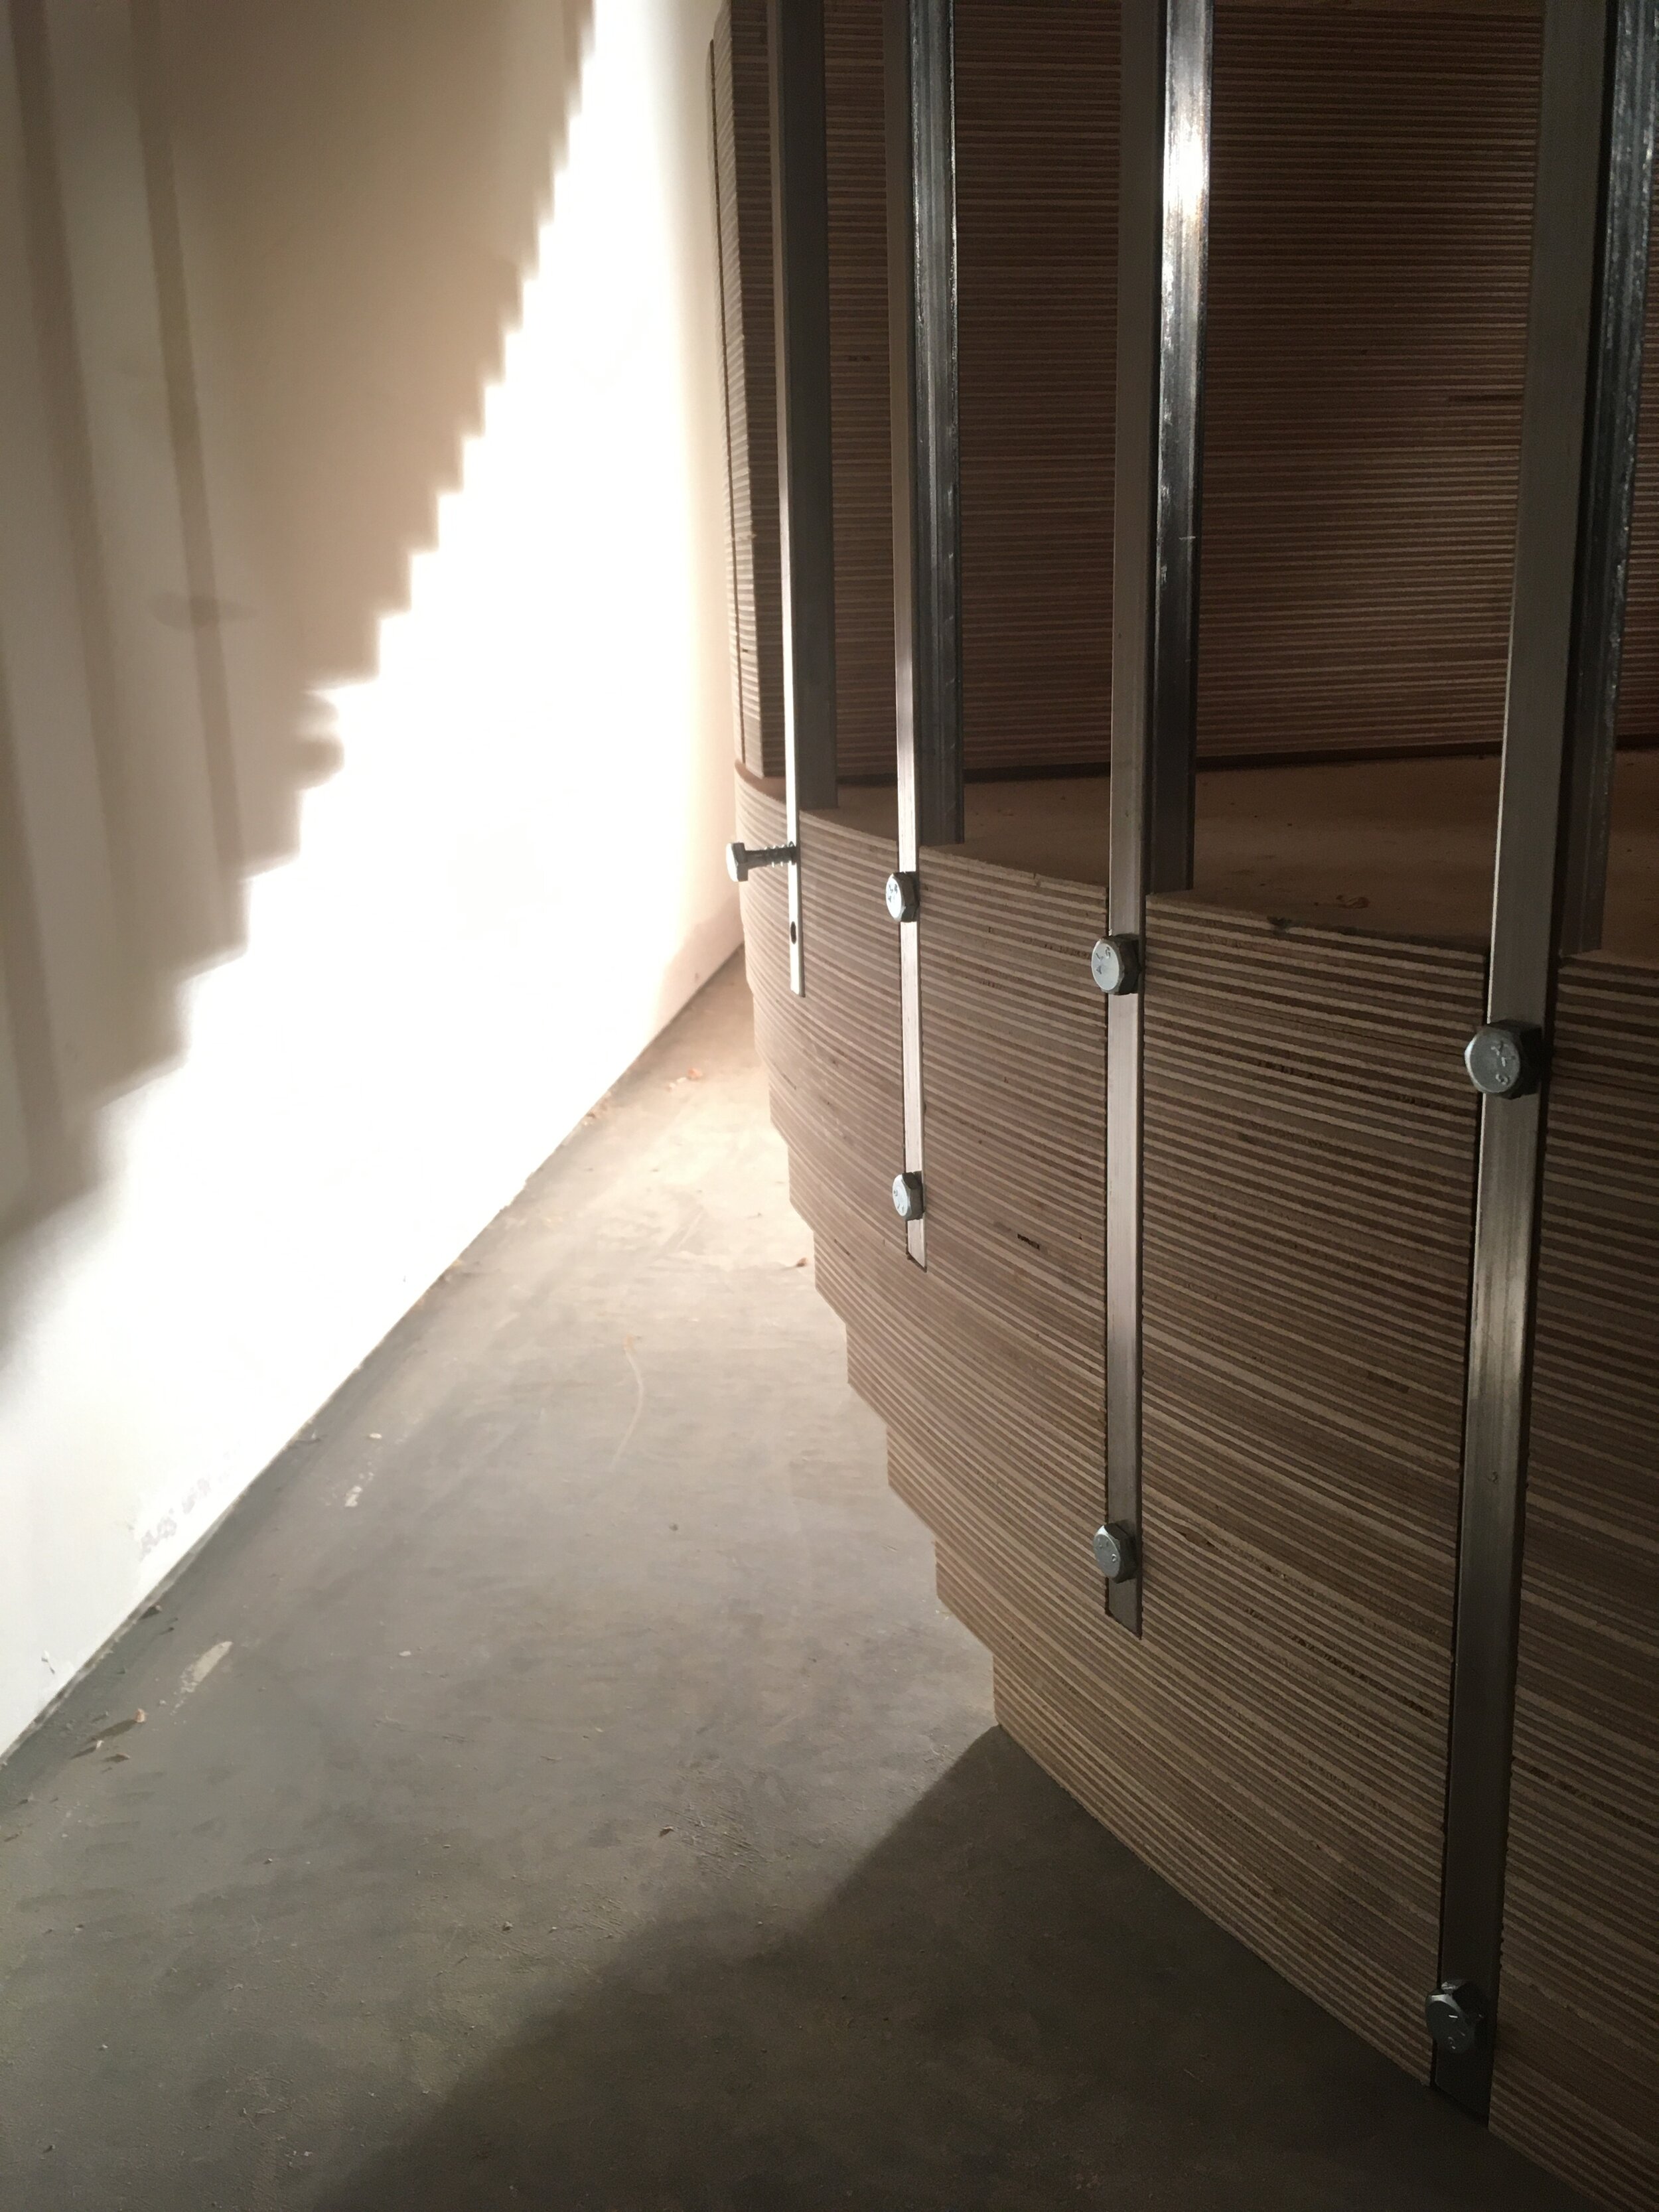
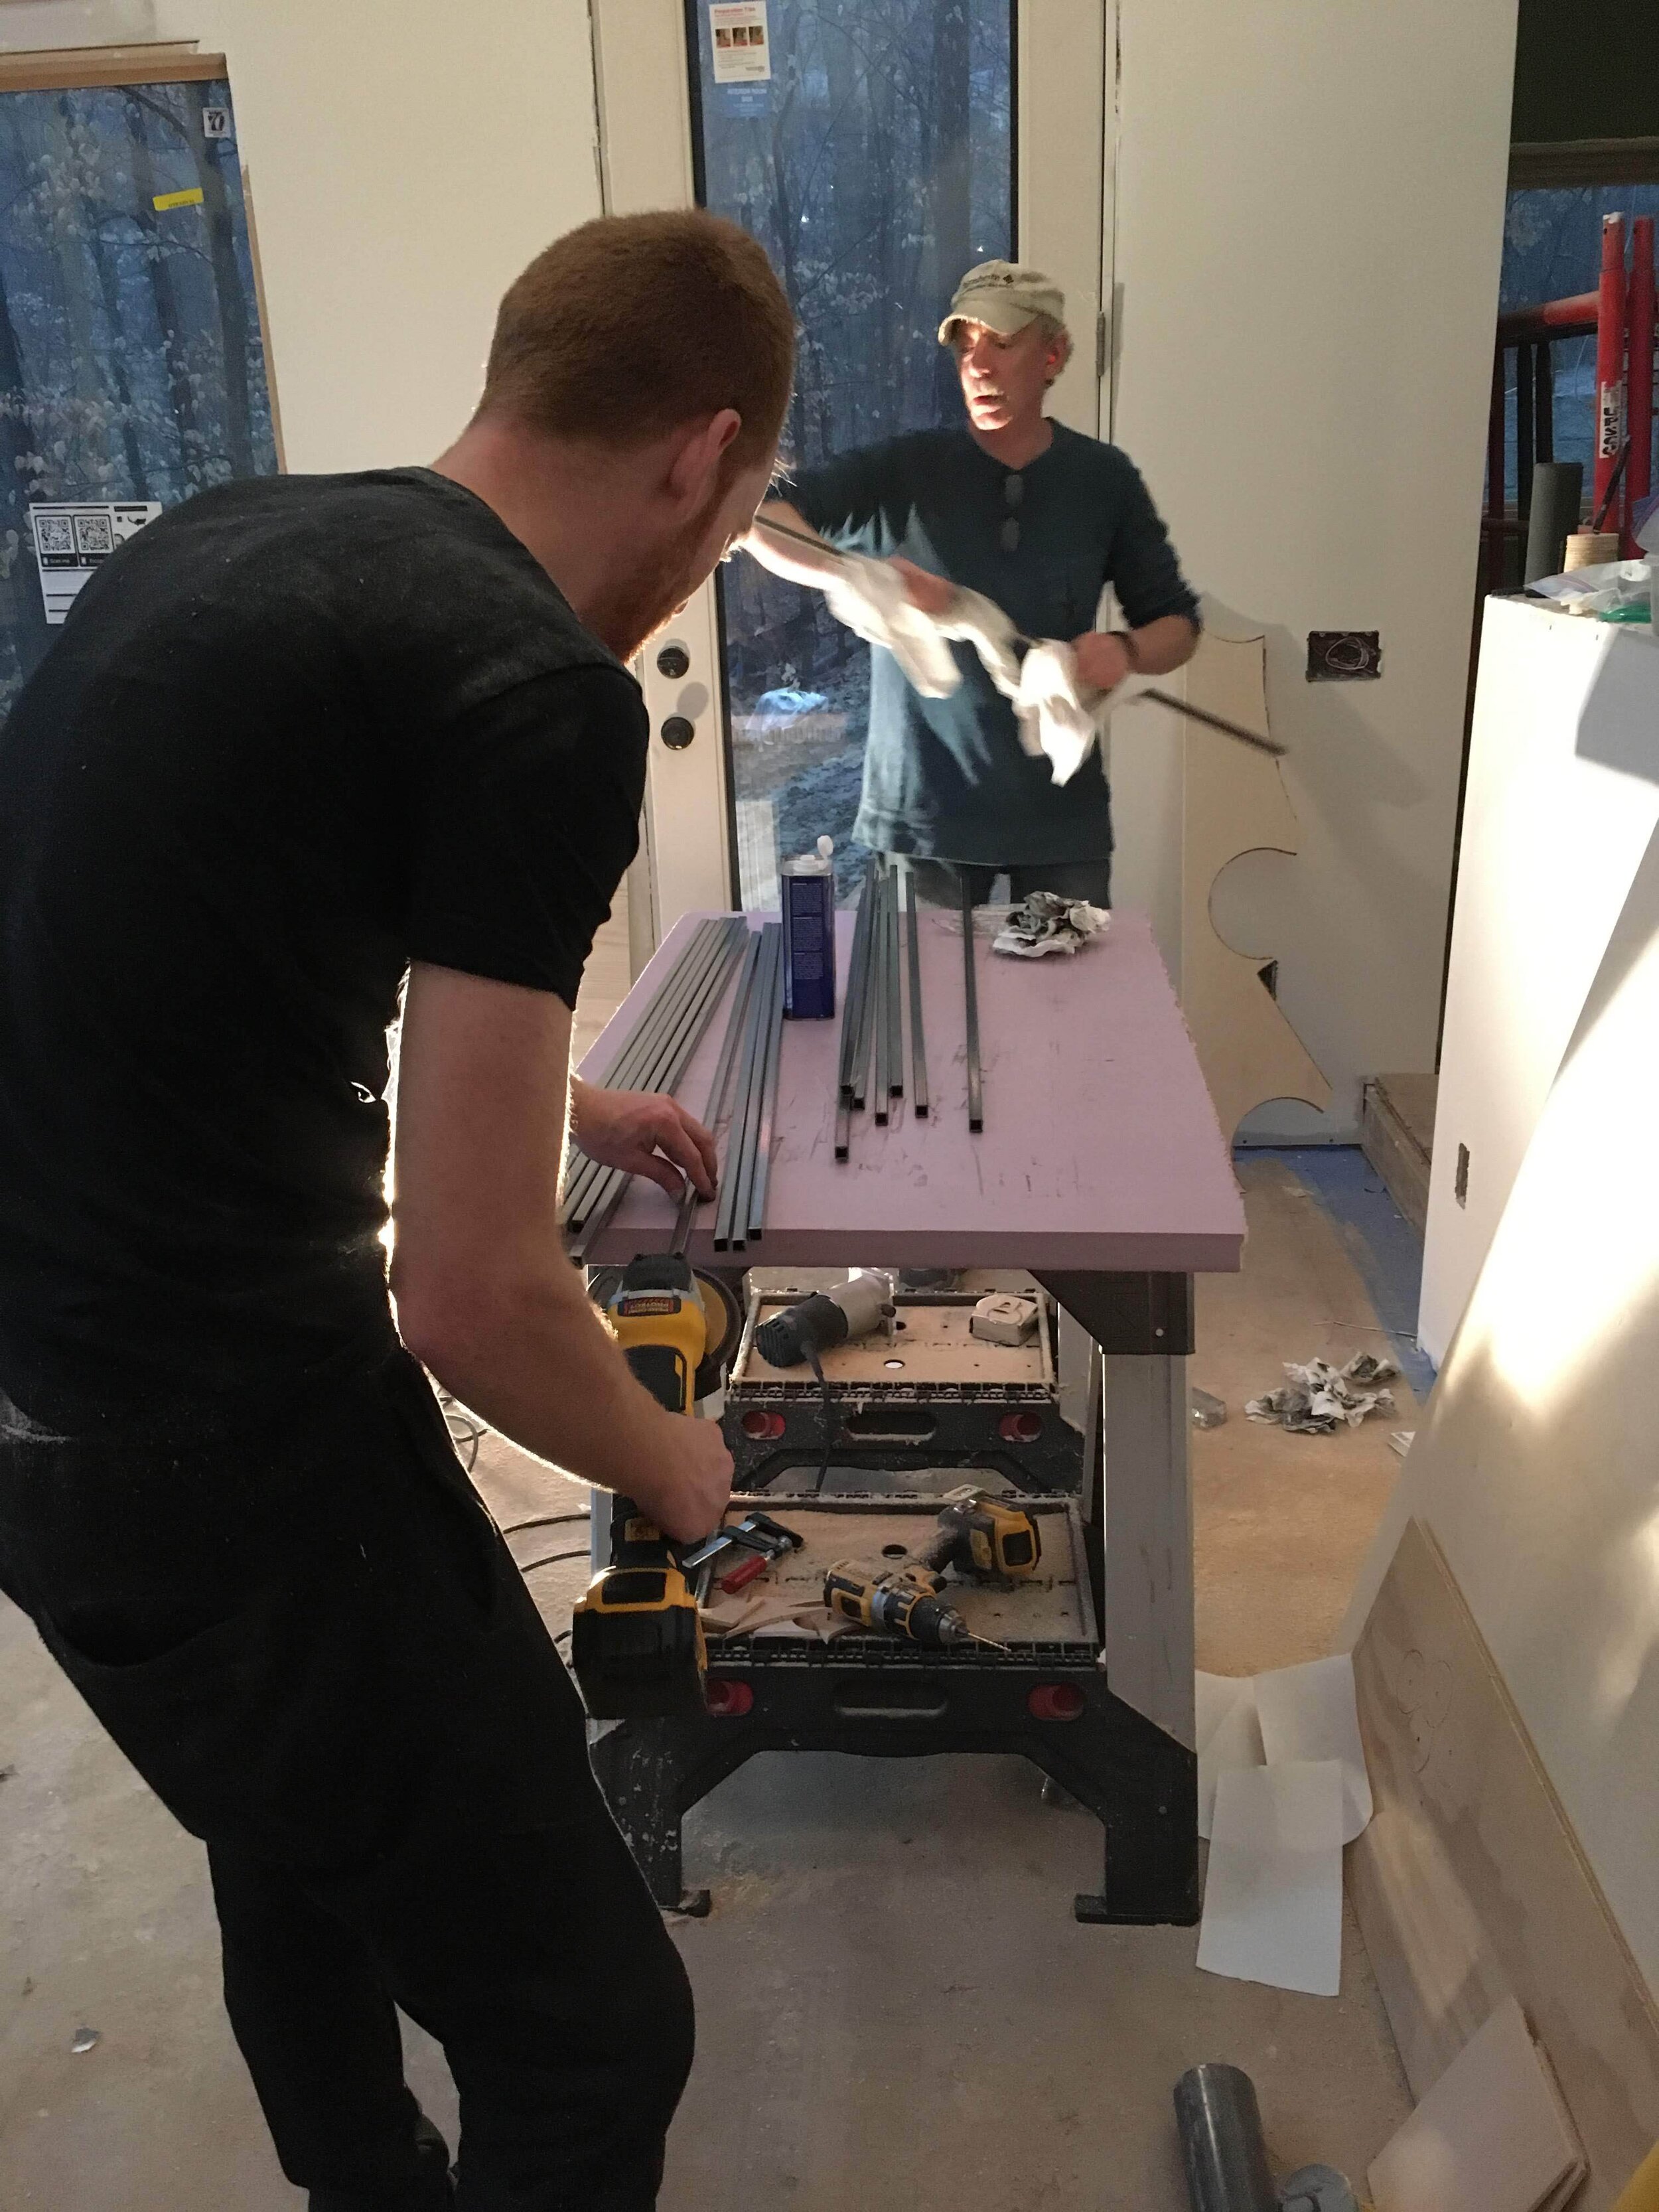
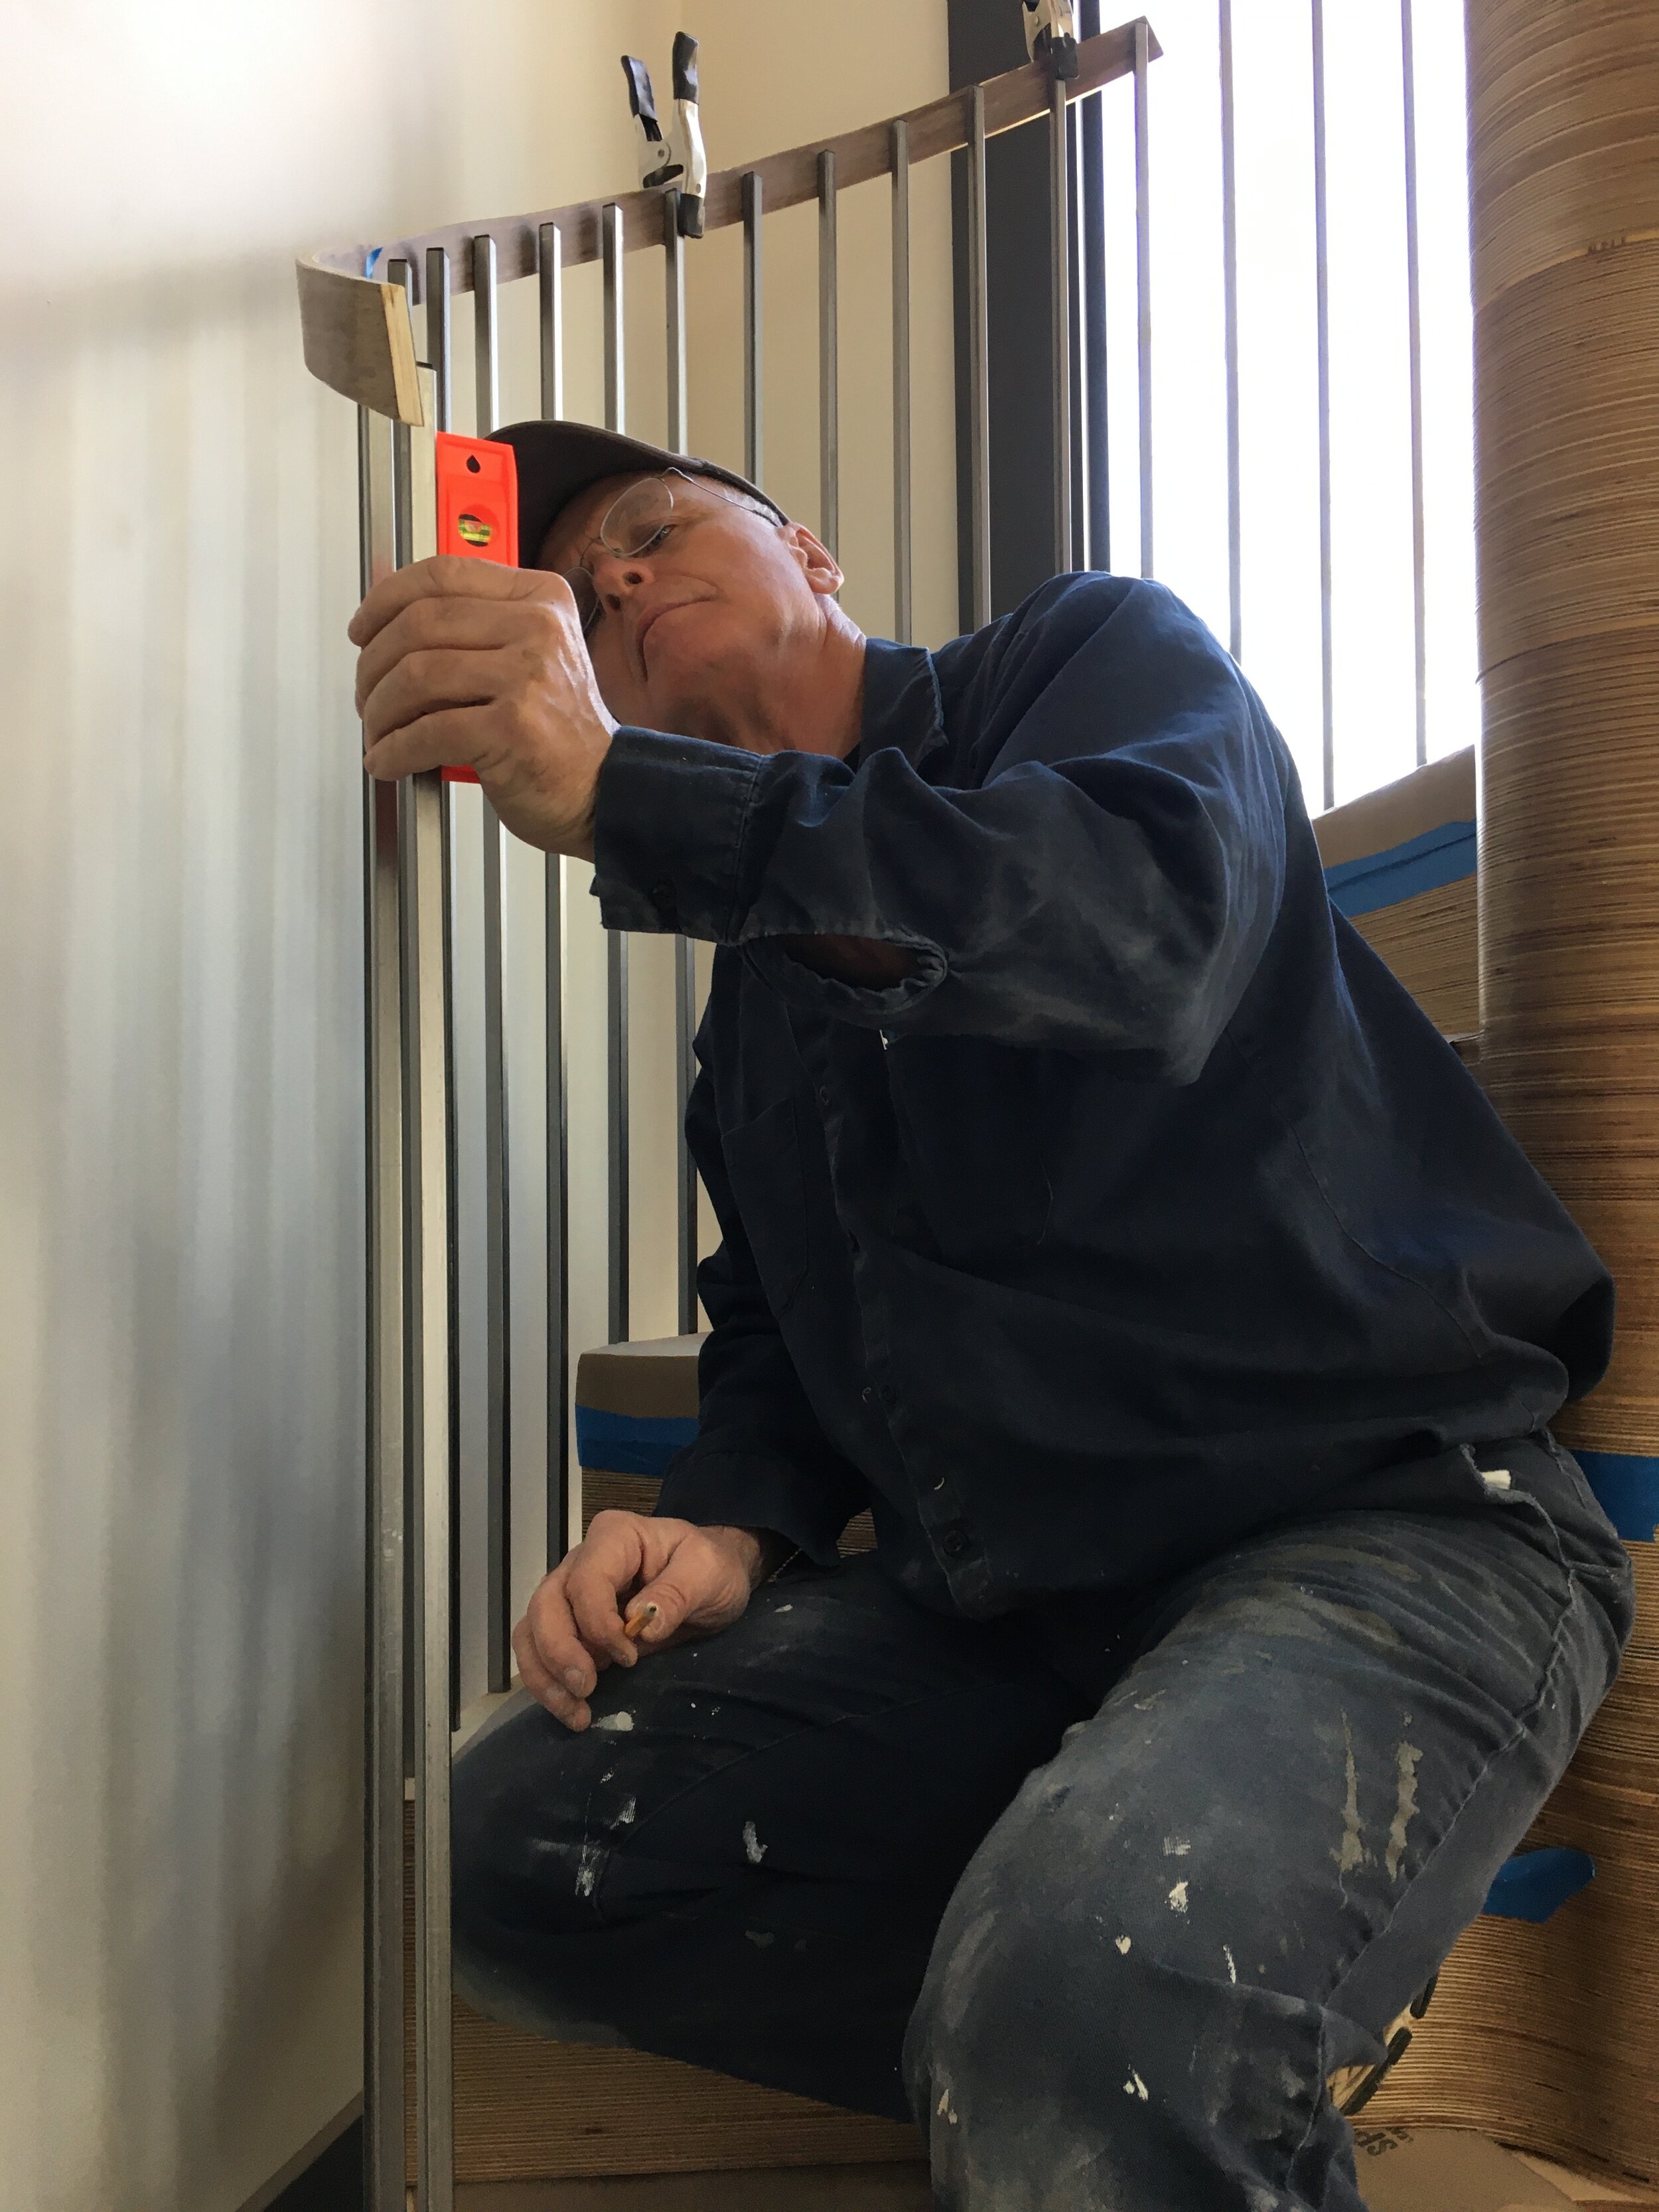
The balusters have to be tall but not too tall (34-38”). They can’t be more than four inches apart so a child’s head doesn’t get stuck between them. (In fact, I read on Inspectapedia that some inspectors carry a four-inch foam ball with them and check each baluster’s spacing.) To navigate these rules, we decided to make the balusters out of square tubing and standardize their height and spacing by cutting slots into the treads themselves during the CNC process. The balusters fit into the slots, and my dad used his drill press to create identical screw holes for securing the balusters to the tread.
The rail itself has to either be small enough to grip your fingers around or large enough to include a groove that your fingers can fit into. There are Type I and Type II handrails. They have to be at least 1.5” from the wall. They have to end at a newel post, unless they don’t; the correct answer really depends on who your inspector is.

Mark trying to break the construction adhesive's bond between the handrail and baluster
The handrail also cannot fall off. This proved to be one of the more difficult tasks as our plans for the railing came together. Throughout the construction process, I put my faith in construction adhesive—advertised as super-super-superglues that can basically hold spaceships together—and watched each time as it failed. Each time. I tried construction adhesive to bond wood to wood, wood to metal, metal to metal; it never worked. And I never learned my lesson.
Despite this evidence, I tried bonding our handmade handrail to the metal balusters. We let a sample dry for 48 hours and passed it around to everyone at the construction site to see if they could pull the handrail away from the baluster. No one could! We had found our solution!
So, we glued the actual handrail to the actual balusters. The next morning, it had already fallen off.
In the end, here’s how we fabricated the handrail:
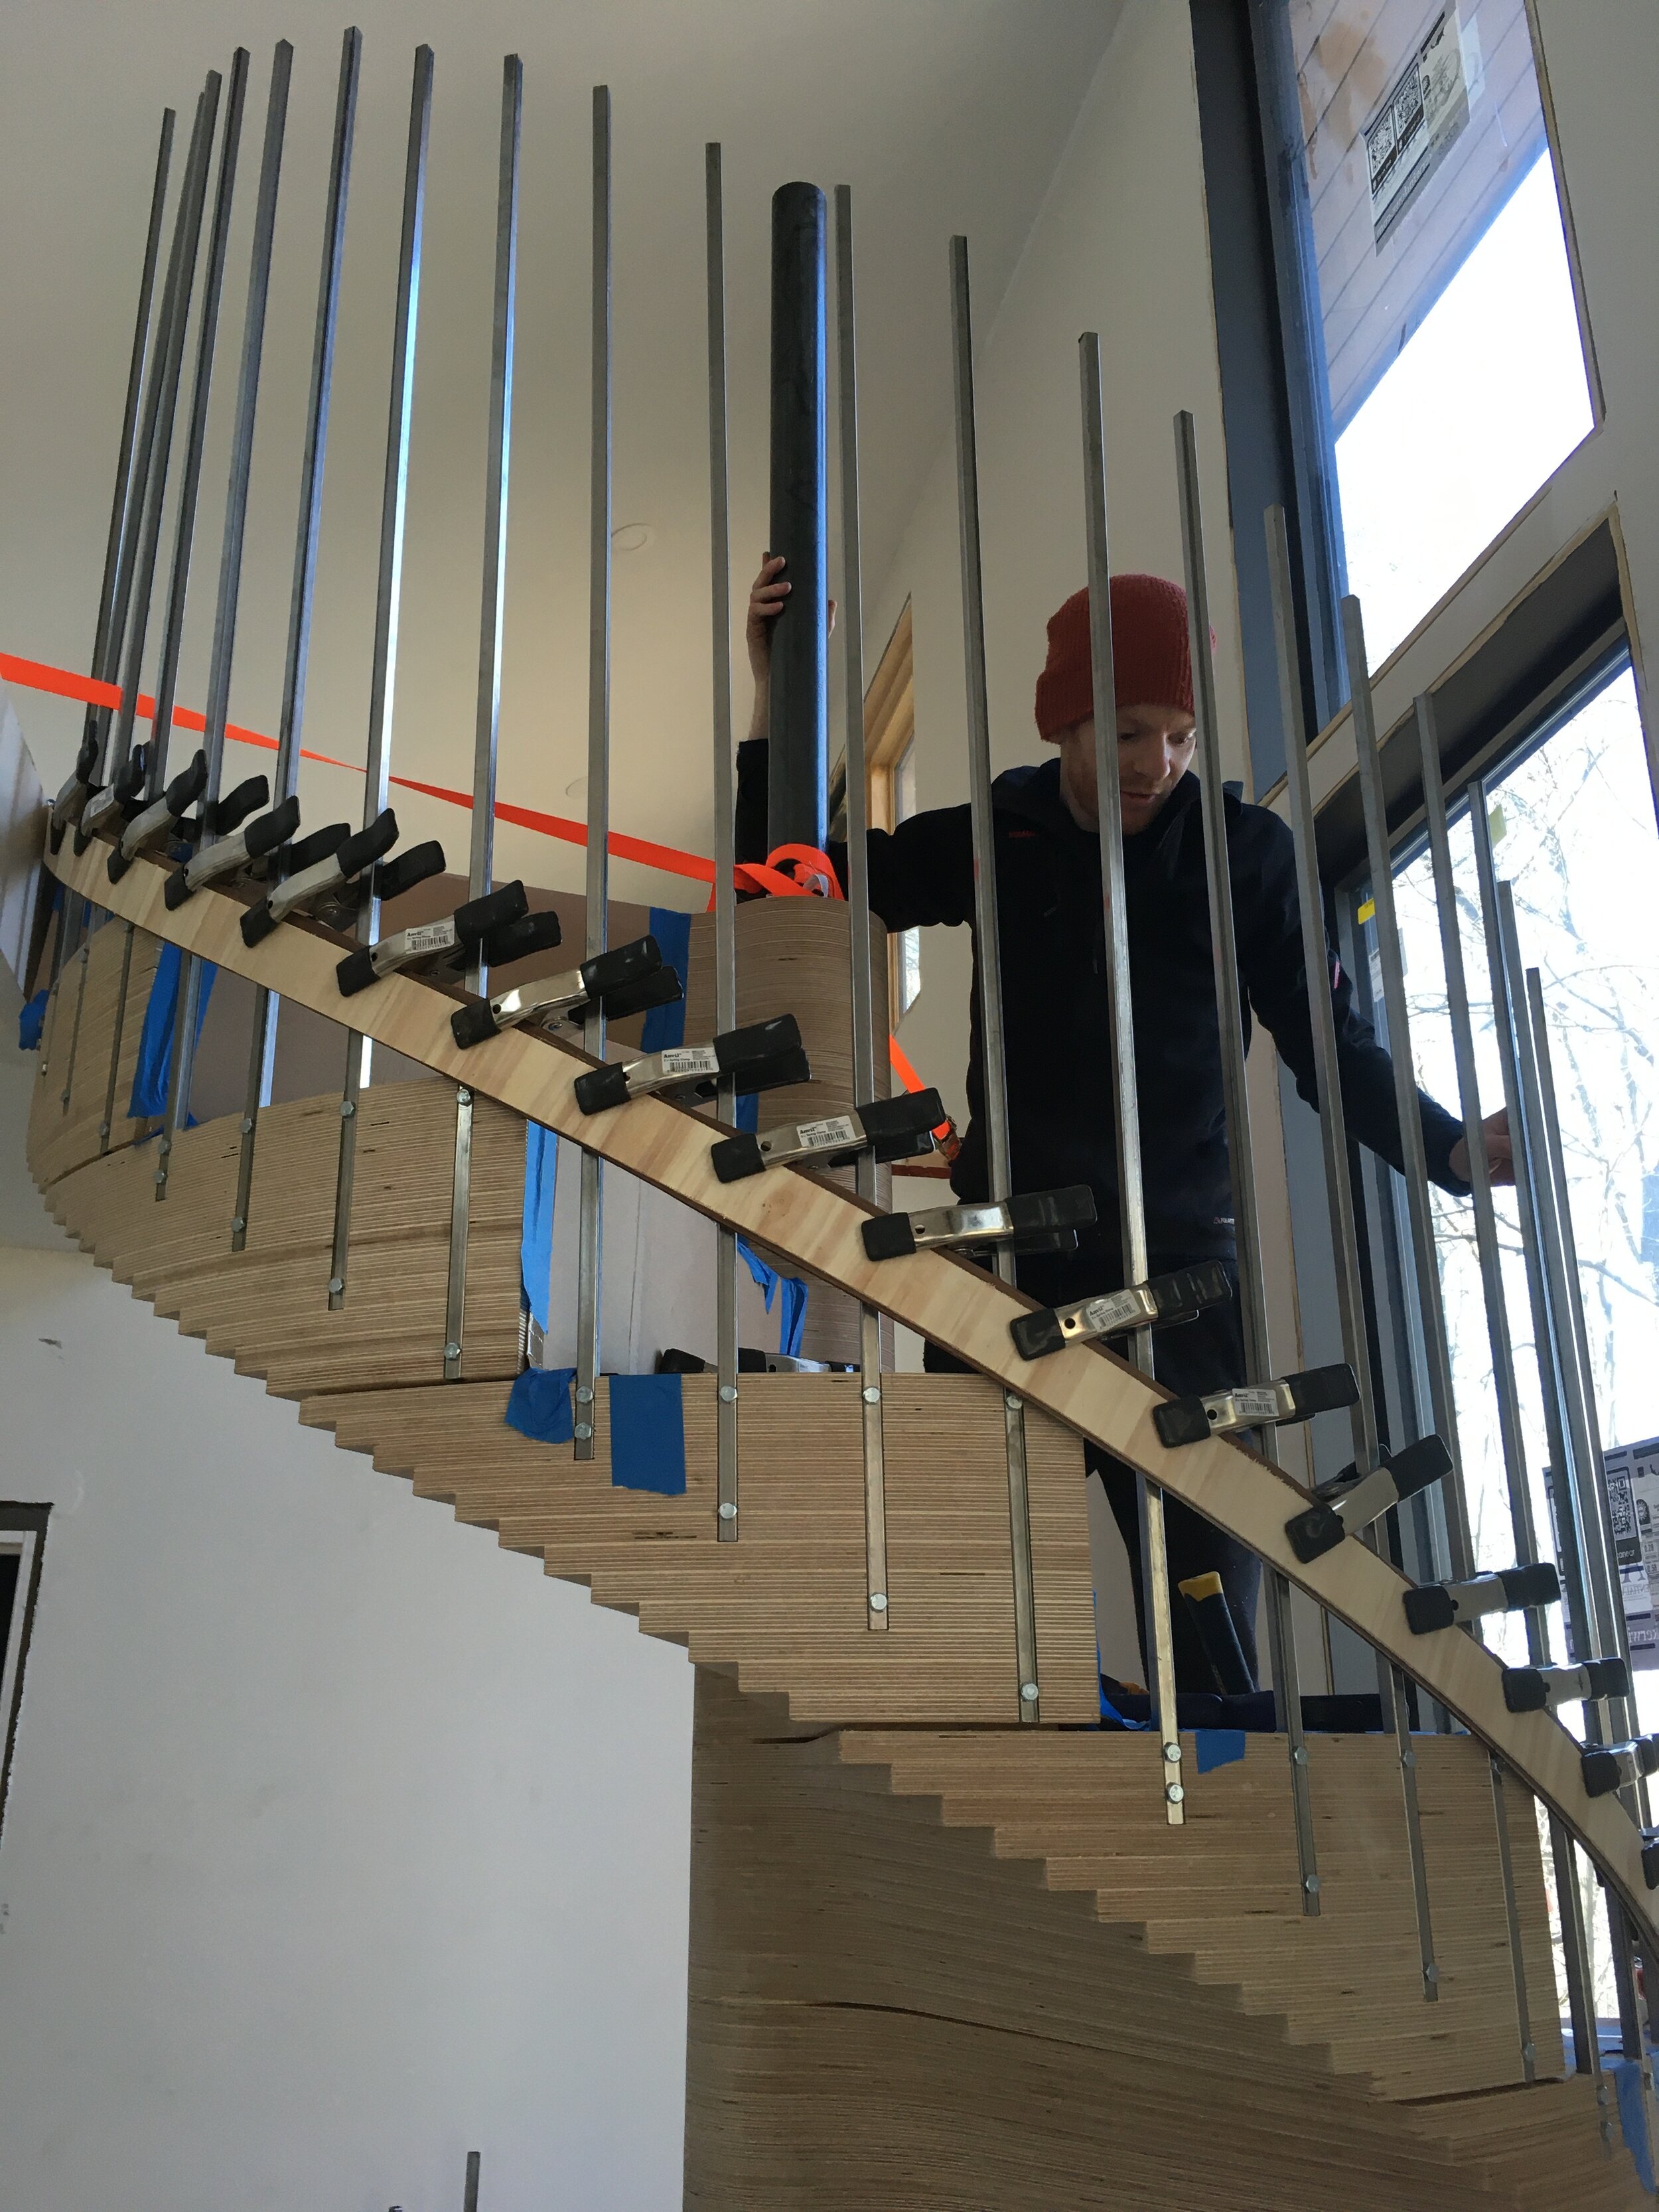
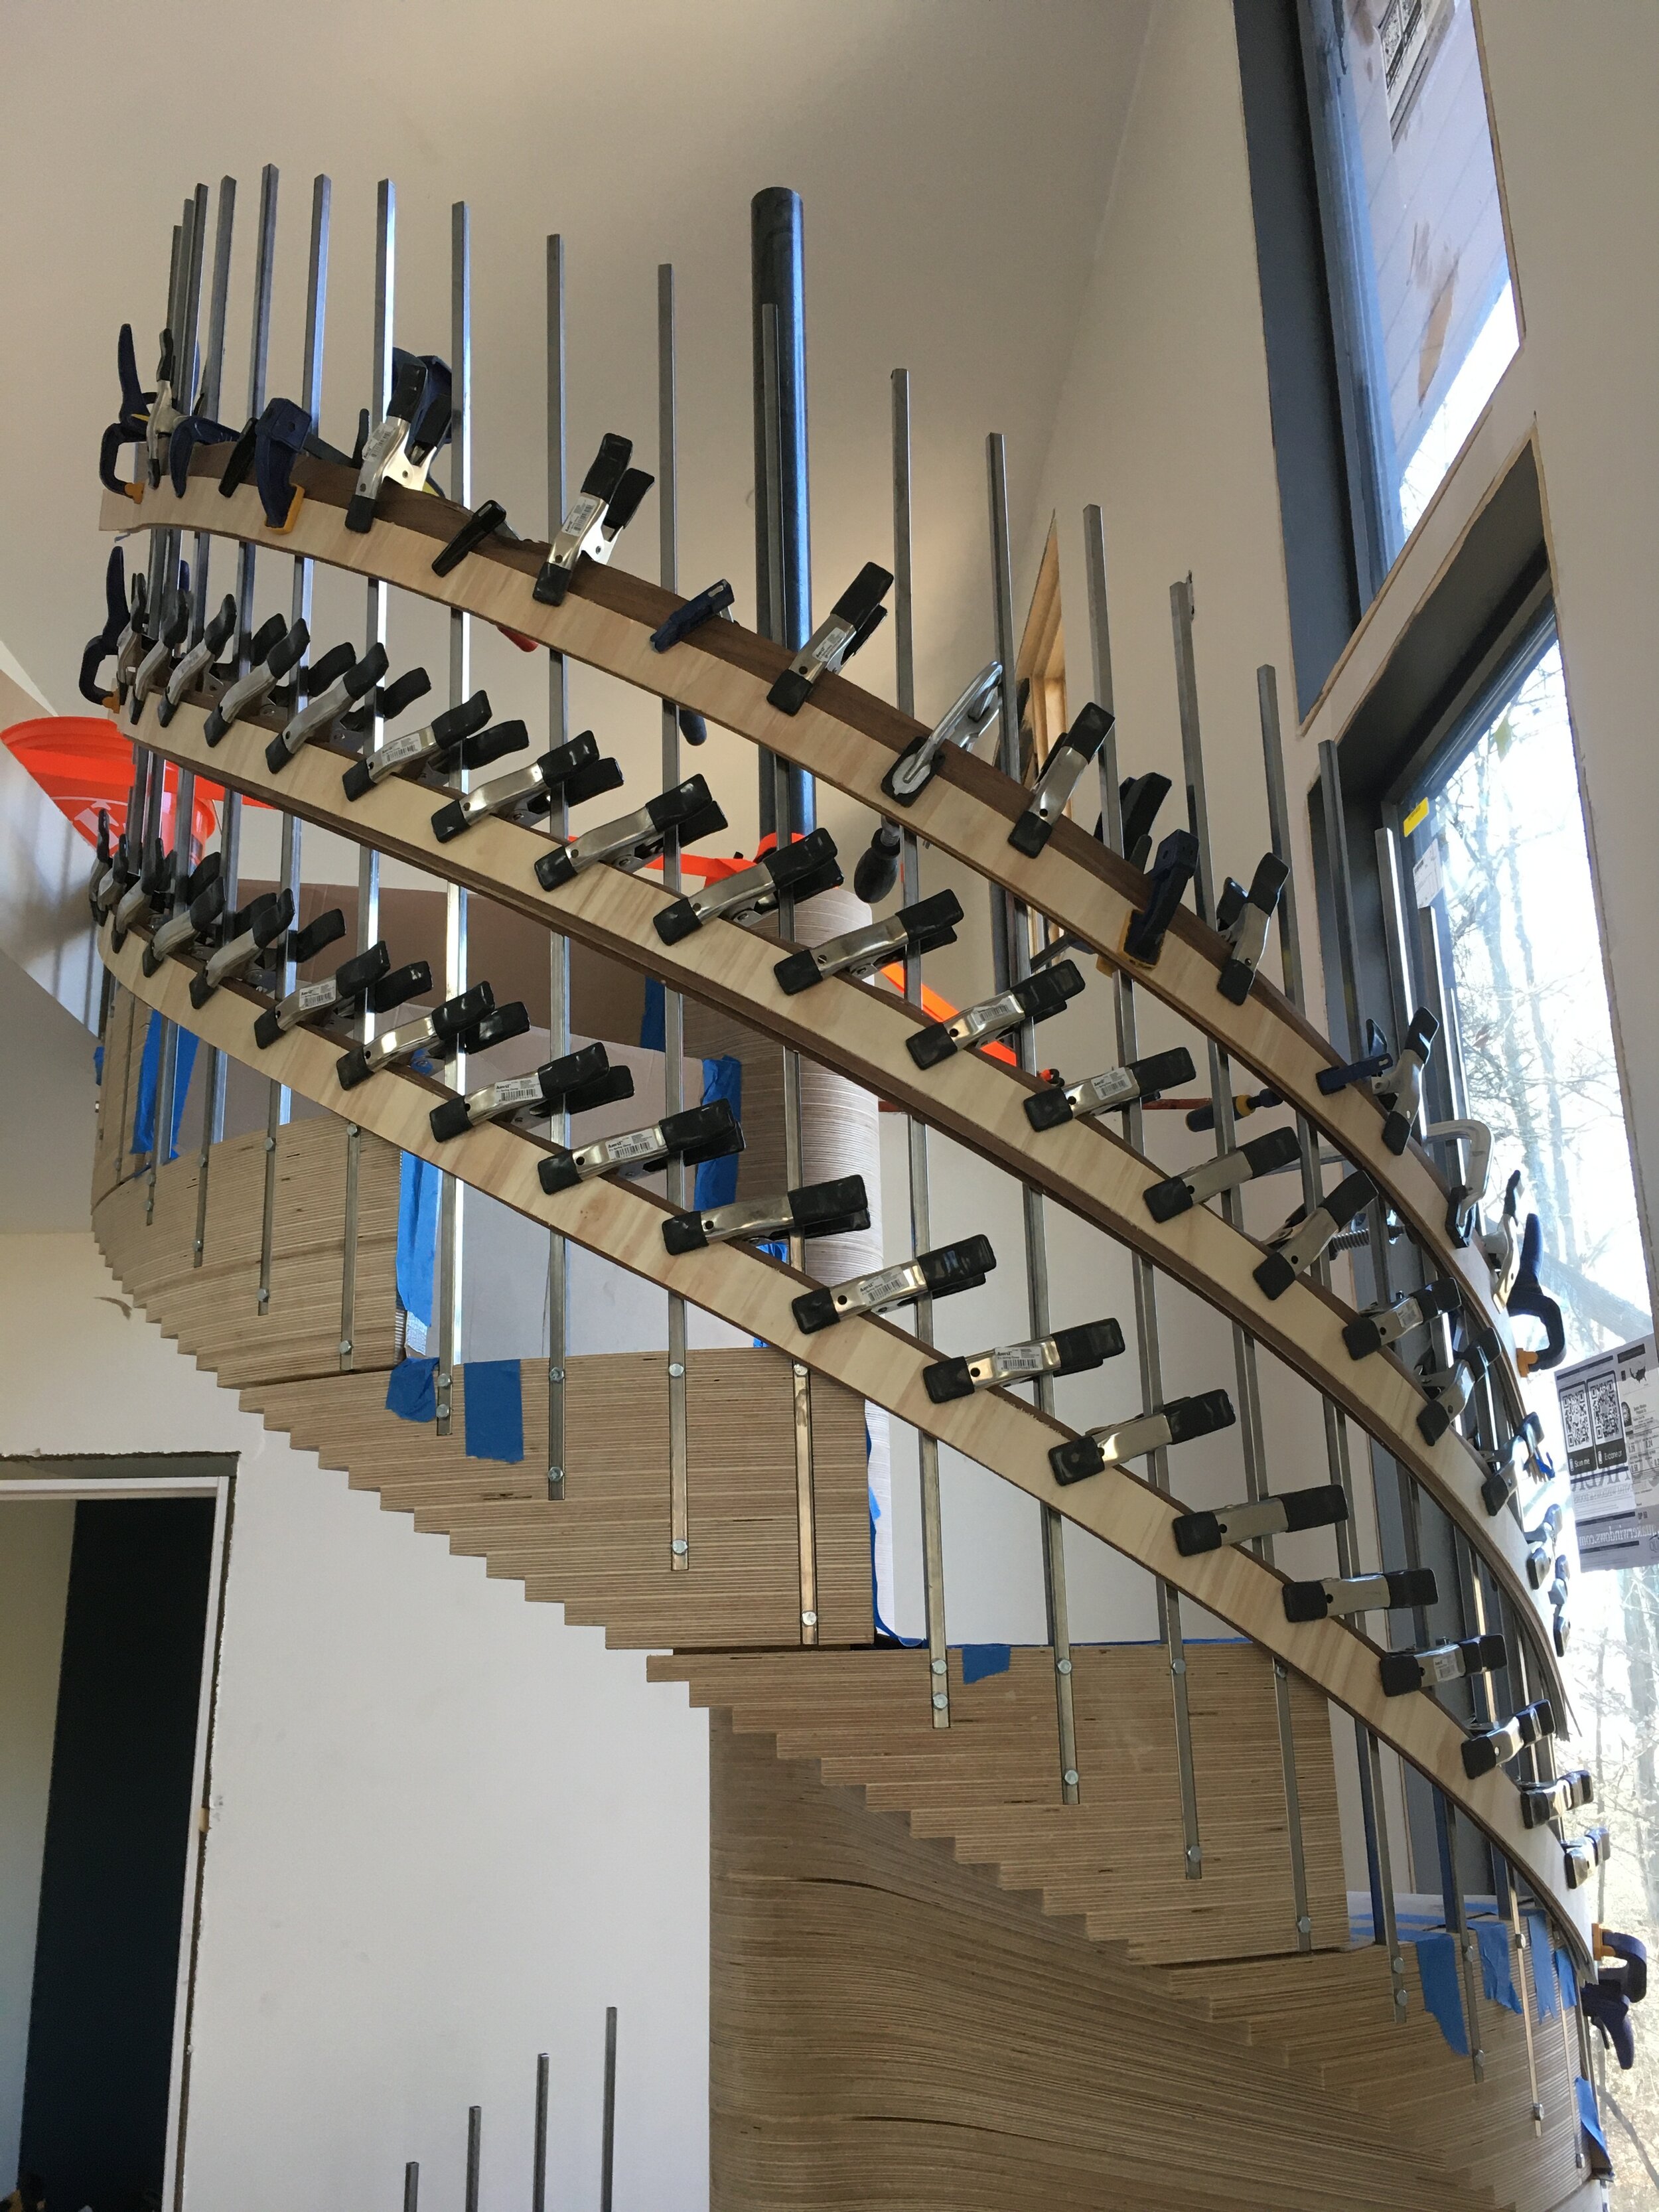
First, my friend Daniel and I bought a sheet of 1/4” bendable plywood, and we cut it into long strips. We needed about 16 feet of handrail, which meant we had to make several sections of handrail and then attach them to each other. (Another staircase code: Handrails must be continuous.)
Next, we used plain ol’ wood glue to adhere three of the plywood strips together to meet the code requirement that handrails must have at least a 4” perimeter (but no more than 6 1/4”!). To beautify the otherwise-ugly plywood, we glued a thin walnut veneer to both sides of the handrail. While all the glue was still wet, we clamped the handrail onto the preassembled balusters so that when the glue dried, the handrail was permanently shaped into the proper curvature.


Three days later, we detached the handrail sections and sanded away rough edges. Then we cut the ends at an angle so that, when put in place, we could glue the sections end to end and achieve a continuous rail.
Since the construction adhesive failed to attach the handrail to the balusters, we ended up drilling a small hole through the top of each baluster and running a screw through the handrail into the metal.
Voila! A (mostly) code-compliant spiral staircase. Didn't that sound easy?
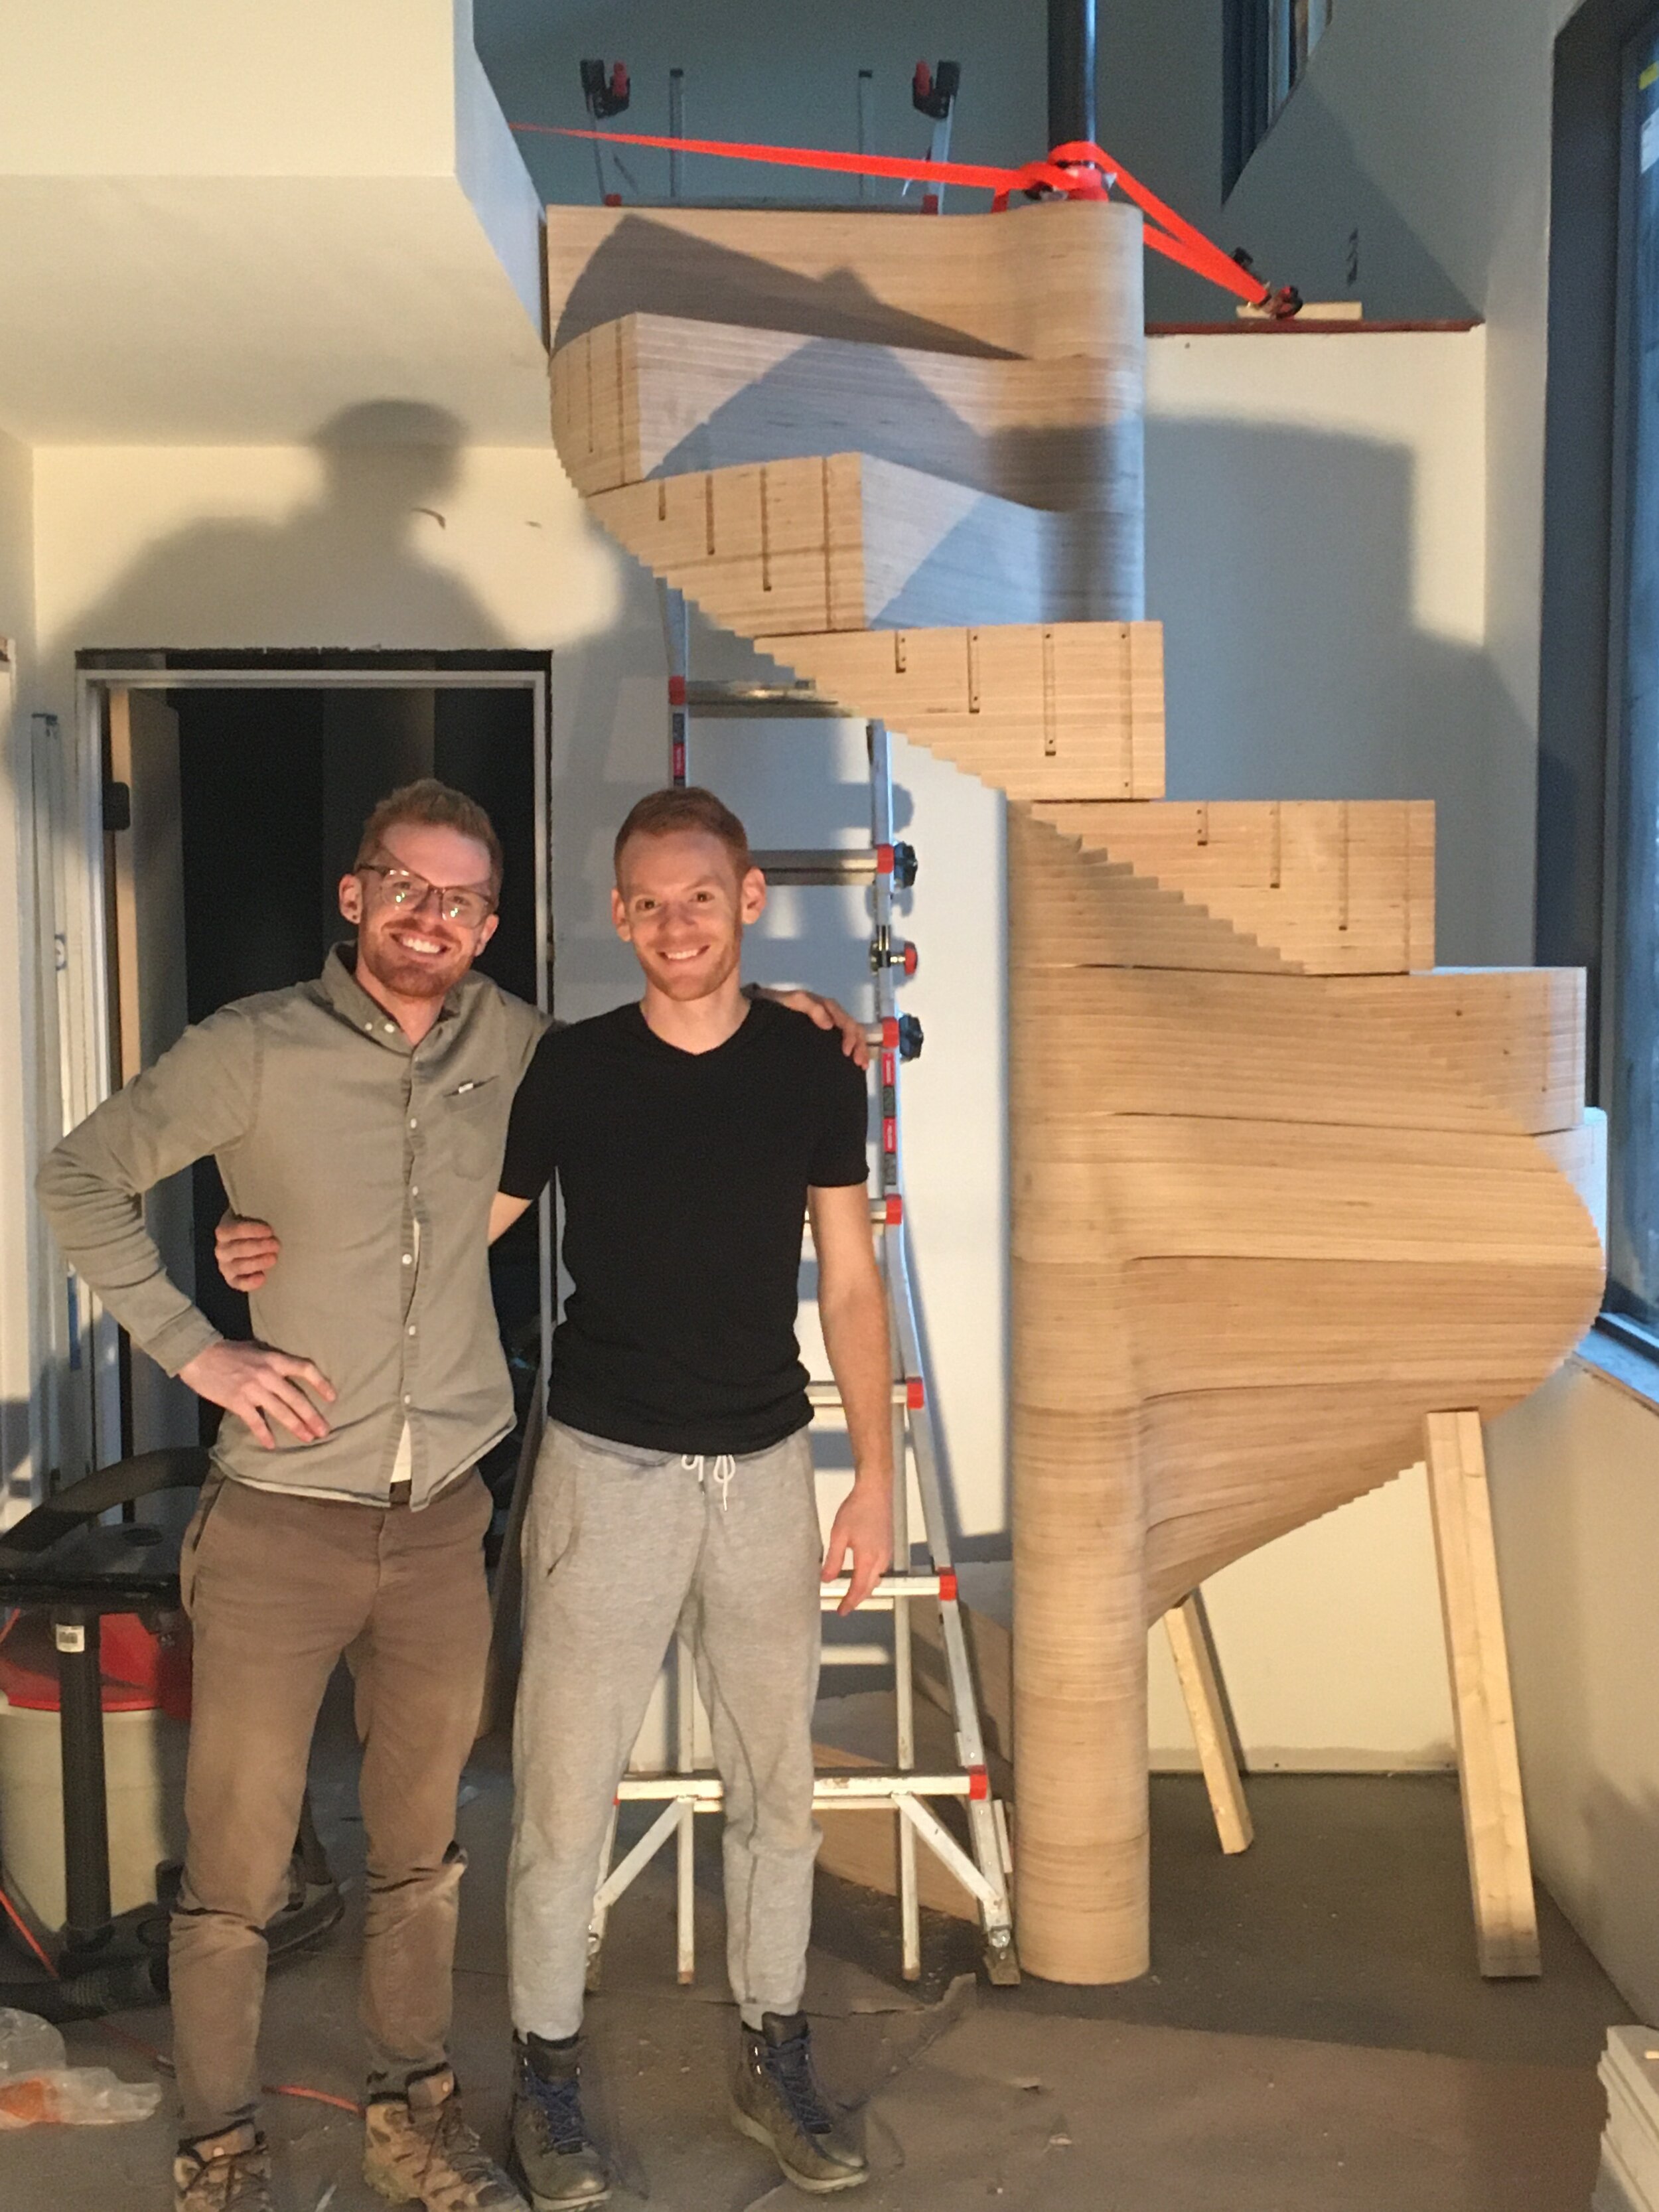
There are a few construction projects that I still regret taking on. But as many hours as it took, as many times as our experiments failed, I do not regret the staircase. Yes, it consumed hundreds of hours of mental and physical energy, but I knew from the beginning that it was going to be complicated. Unlike tiling the shower, which YouTube will convince you is a beginner-level project, no one on the Internet will try to convince you that fabricating a spiral staircase is easy. It took a mechanical engineer (Daniel), a CNC wizard (Andrew), and a jack-of-all-trades (my dad) to complete a functioning—not to mention beautiful—staircase. Others helped, too, like Daniel’s dad, who offered his own woodworking expertise for several days after Christmas.


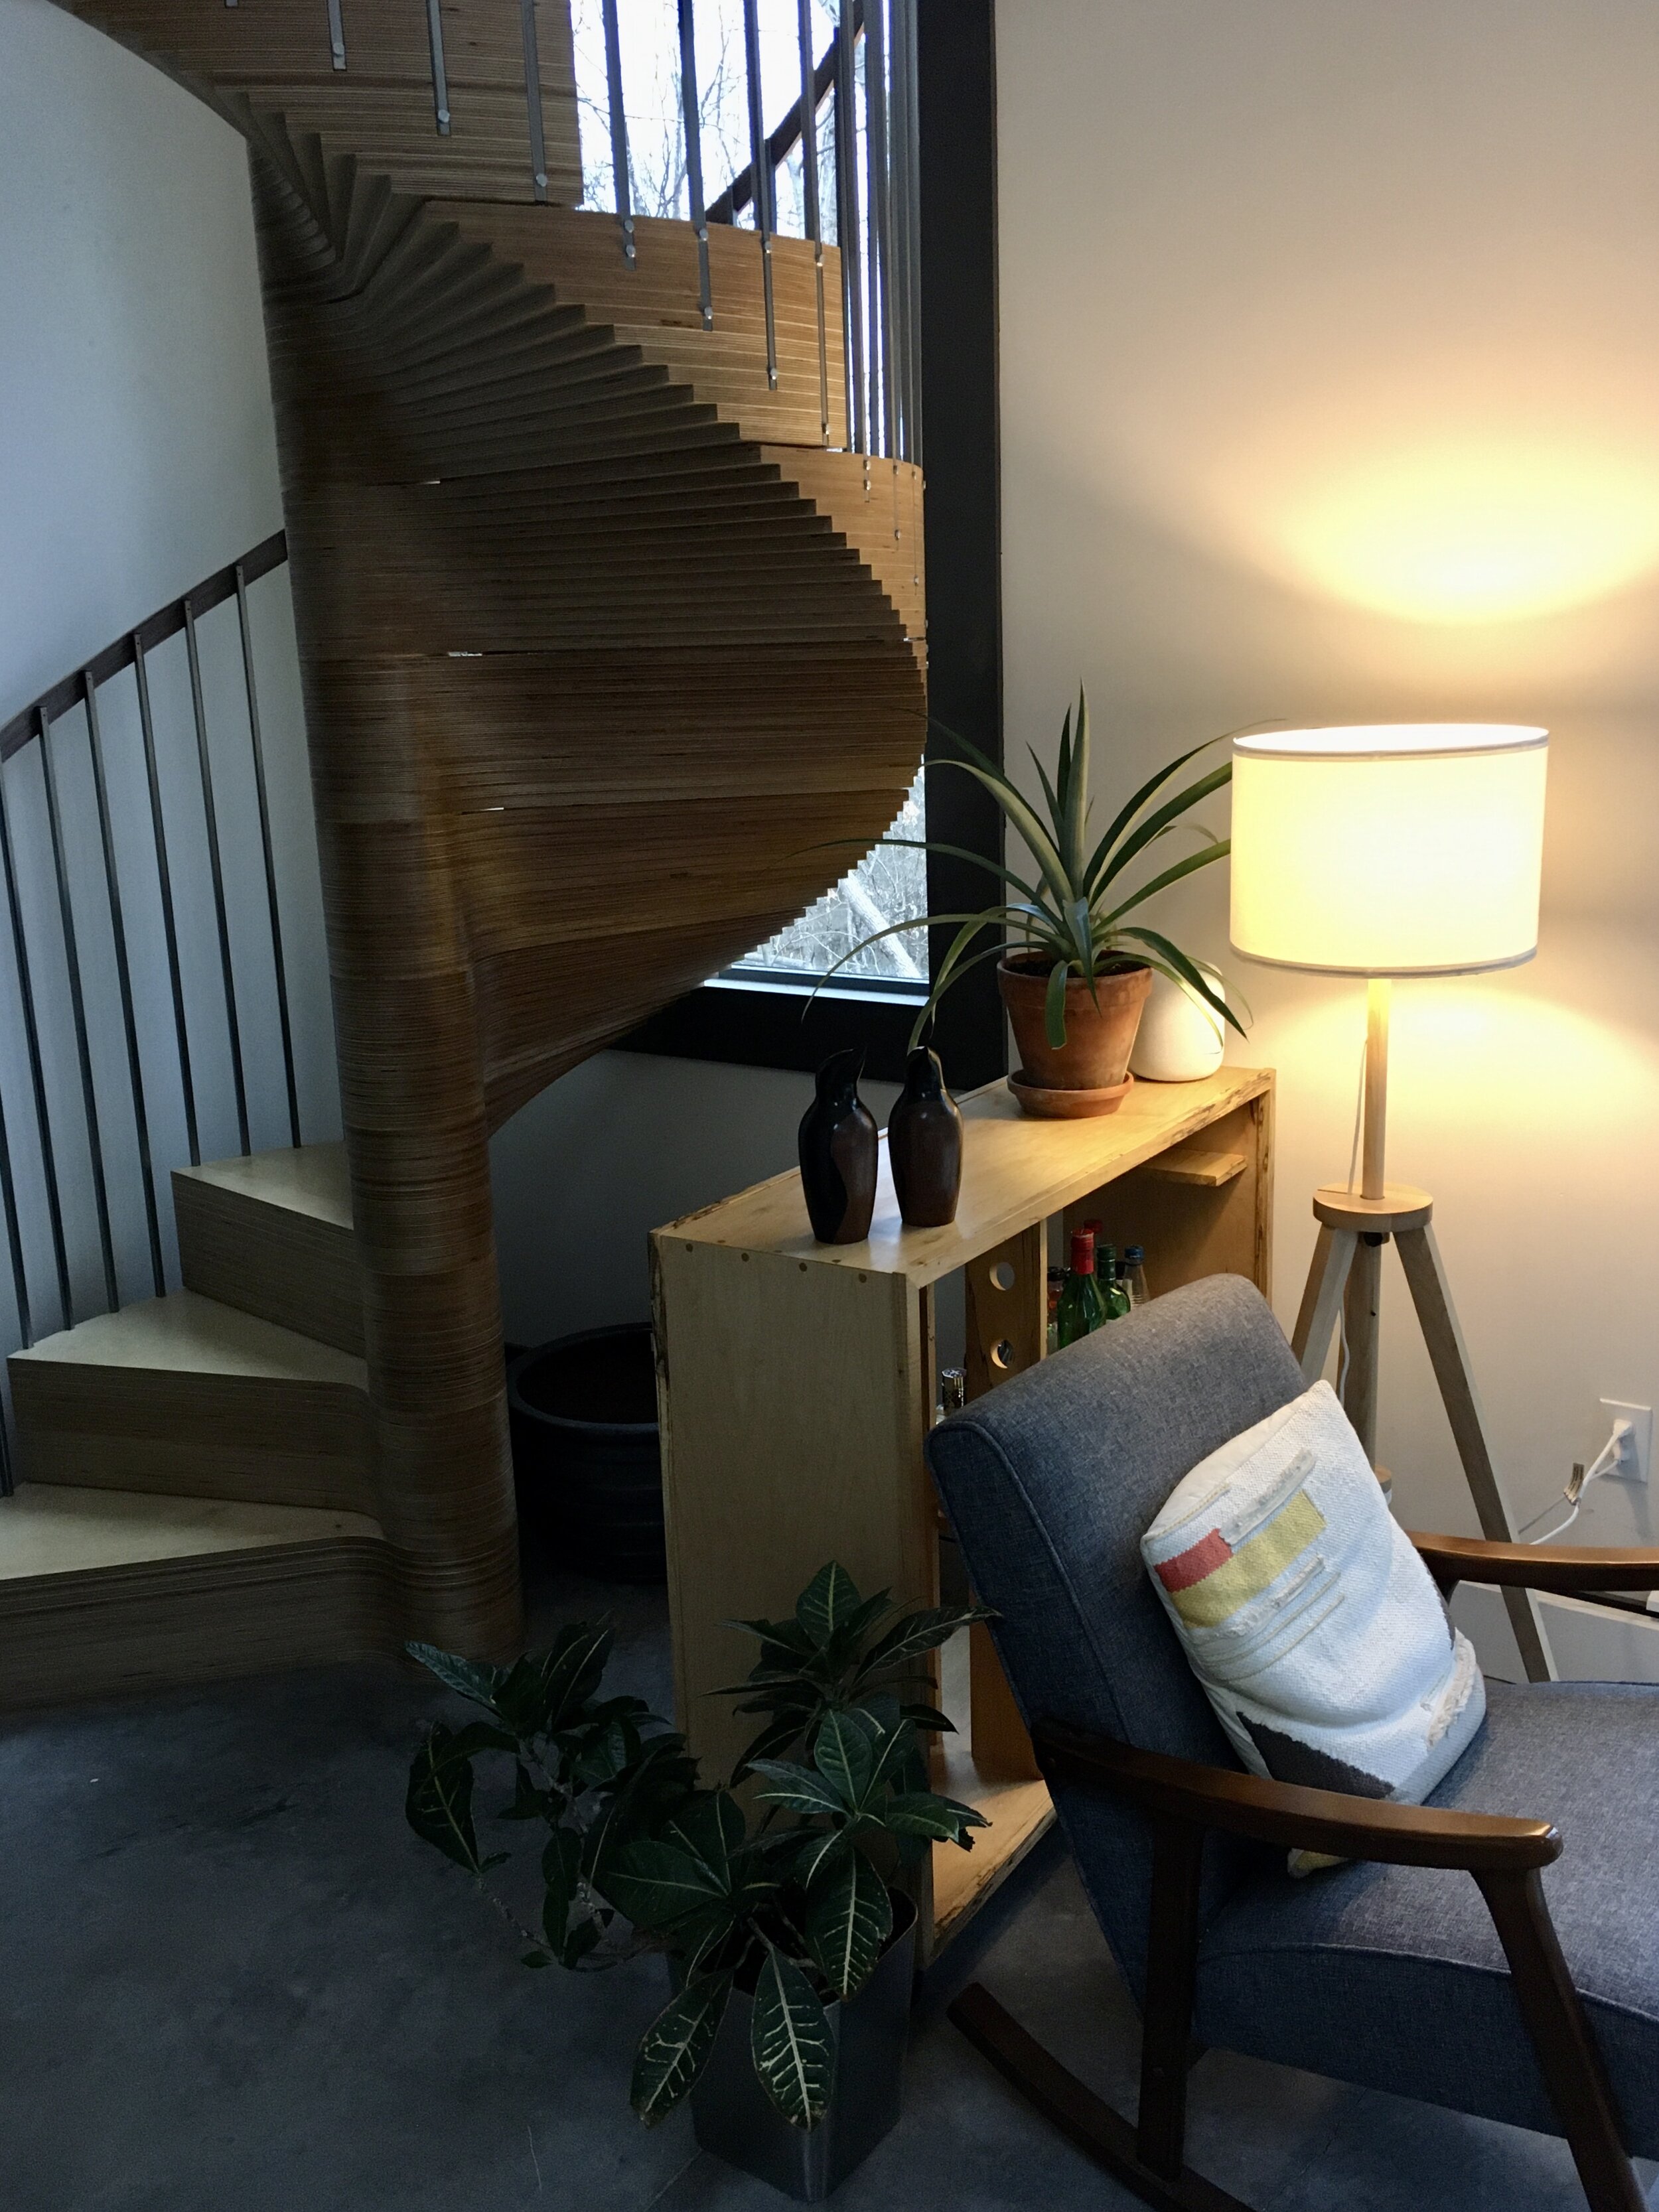
It always felt worth the trouble, too. I knew it would be one of only a few staircases in the world like it. When my neighbor Robbie saw the finished product, he marveled, rightly, “Now there’s your showstopper.” It’s true: The staircase is the first thing you see when you walk in, and it stuns you. In the house’s original design, we had planned to put a floor-to-ceiling bookshelf in front of the staircase. But the first time we saw all the treads stacked on top of each other, we knew it needed to be on display.
Of course, none of this mattered if our final building inspector looked at the staircase and delivered the worst-case news: “Sorry, but this ain’t up to code.”
Ask anyone who heard me talk about our staircase during its planning and assembly: I always demonized this mythical inspector. No matter how many times I reviewed the code requirements myself, I kept thinking back to the forum posts I’d read where an inspector’s interpretation of residential building codes led to a failed inspection. What would I do then? Start over? Move in anyway and risk a fine? Bury the inspector in the backyard?
On Rick and Randy’s advice, I met the final inspector on the morning of his inspection; that way, if he found fault with the staircase’s design, I could try to talk my way out of it by quoting weight loads and radius requirements. The inspector was kind but immediately began pointing out problems with the house that didn't pass code. There was a piece of siding that needed to be replaced. A hole in the soffit needed to be patched. The smoke alarms hadn’t been activated.
When he got to the staircase—a moment I had been dreading for almost a year—he looked at it, ran his fingers along its underside, and said his final words on the matter.
“Huh. That’s pretty cool."